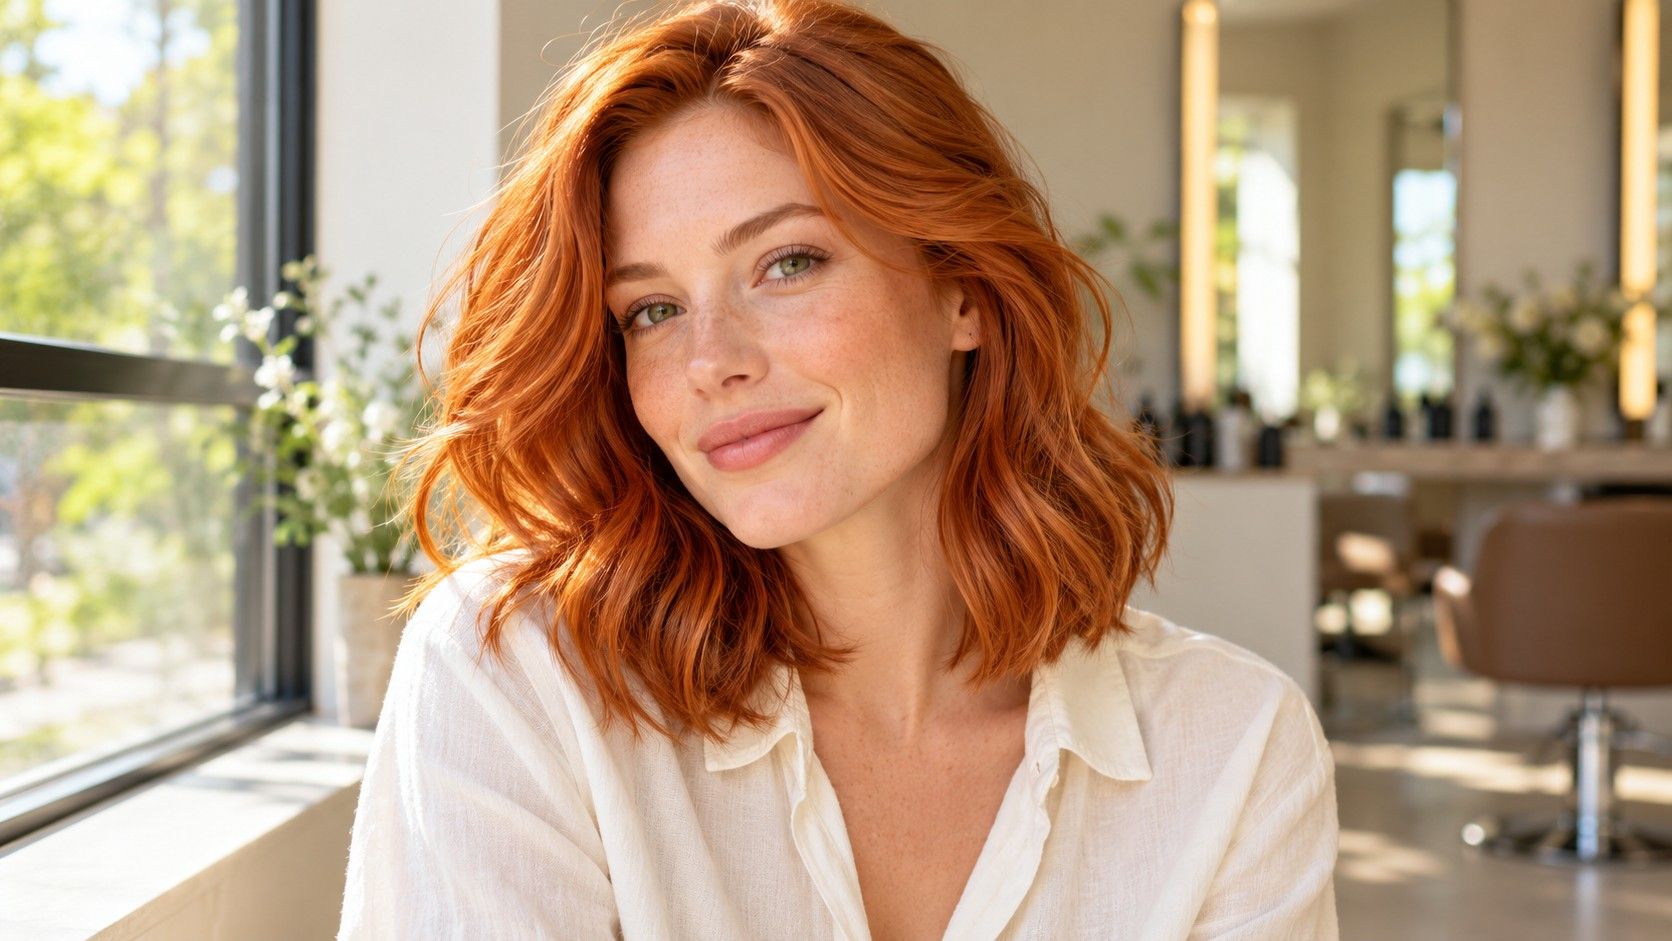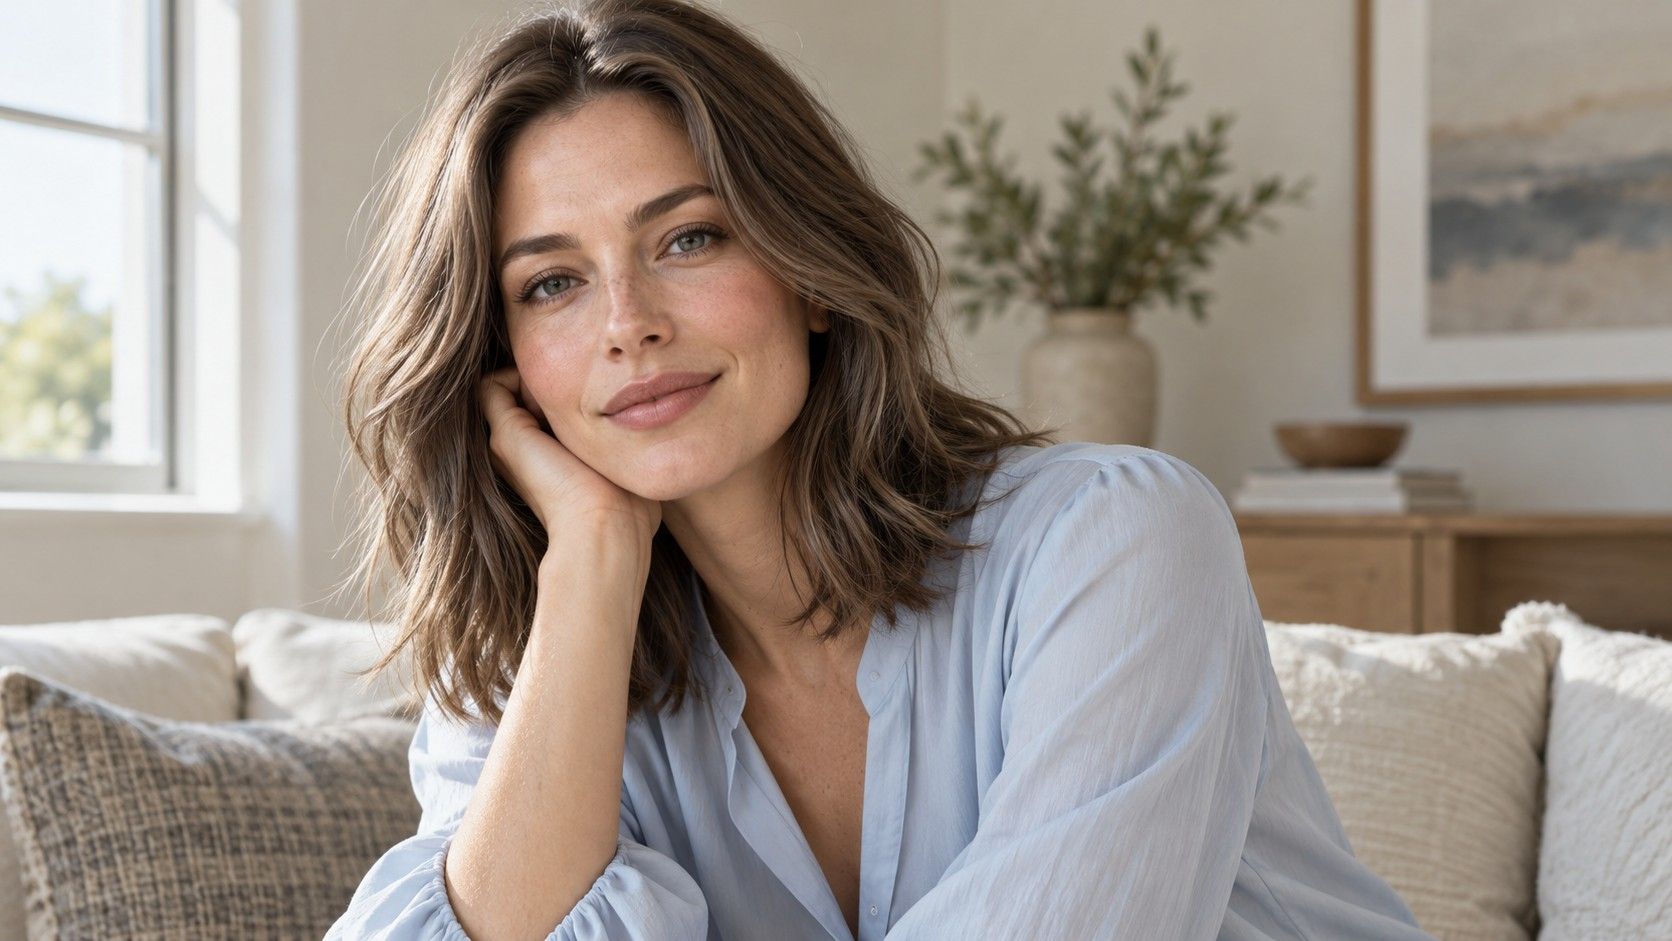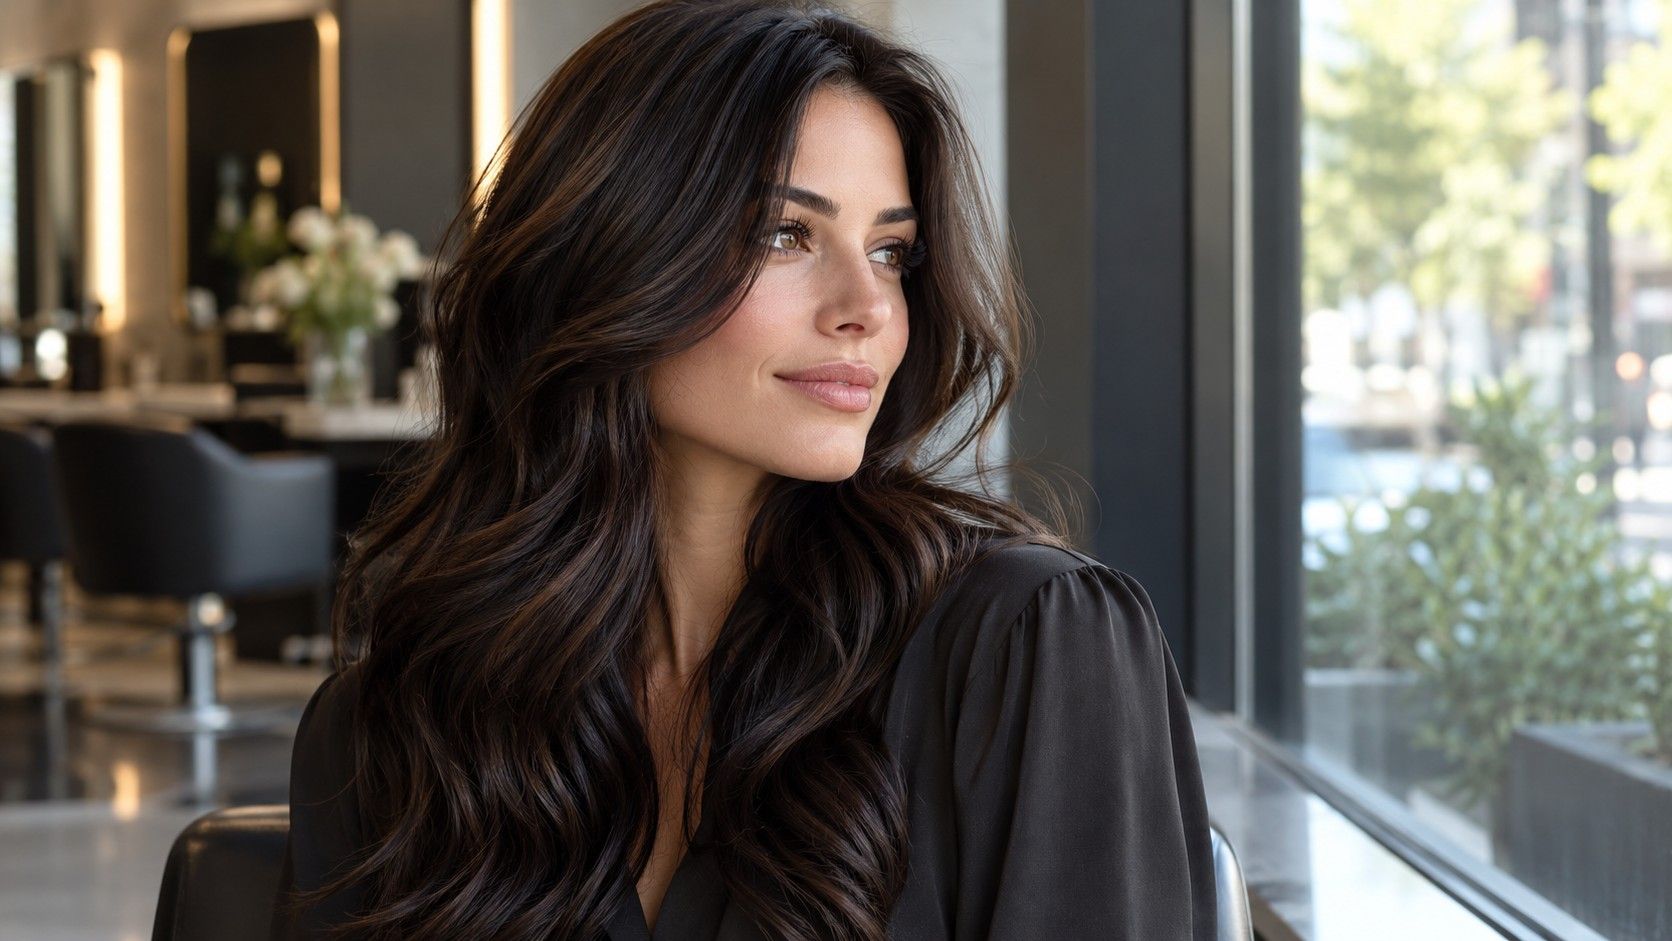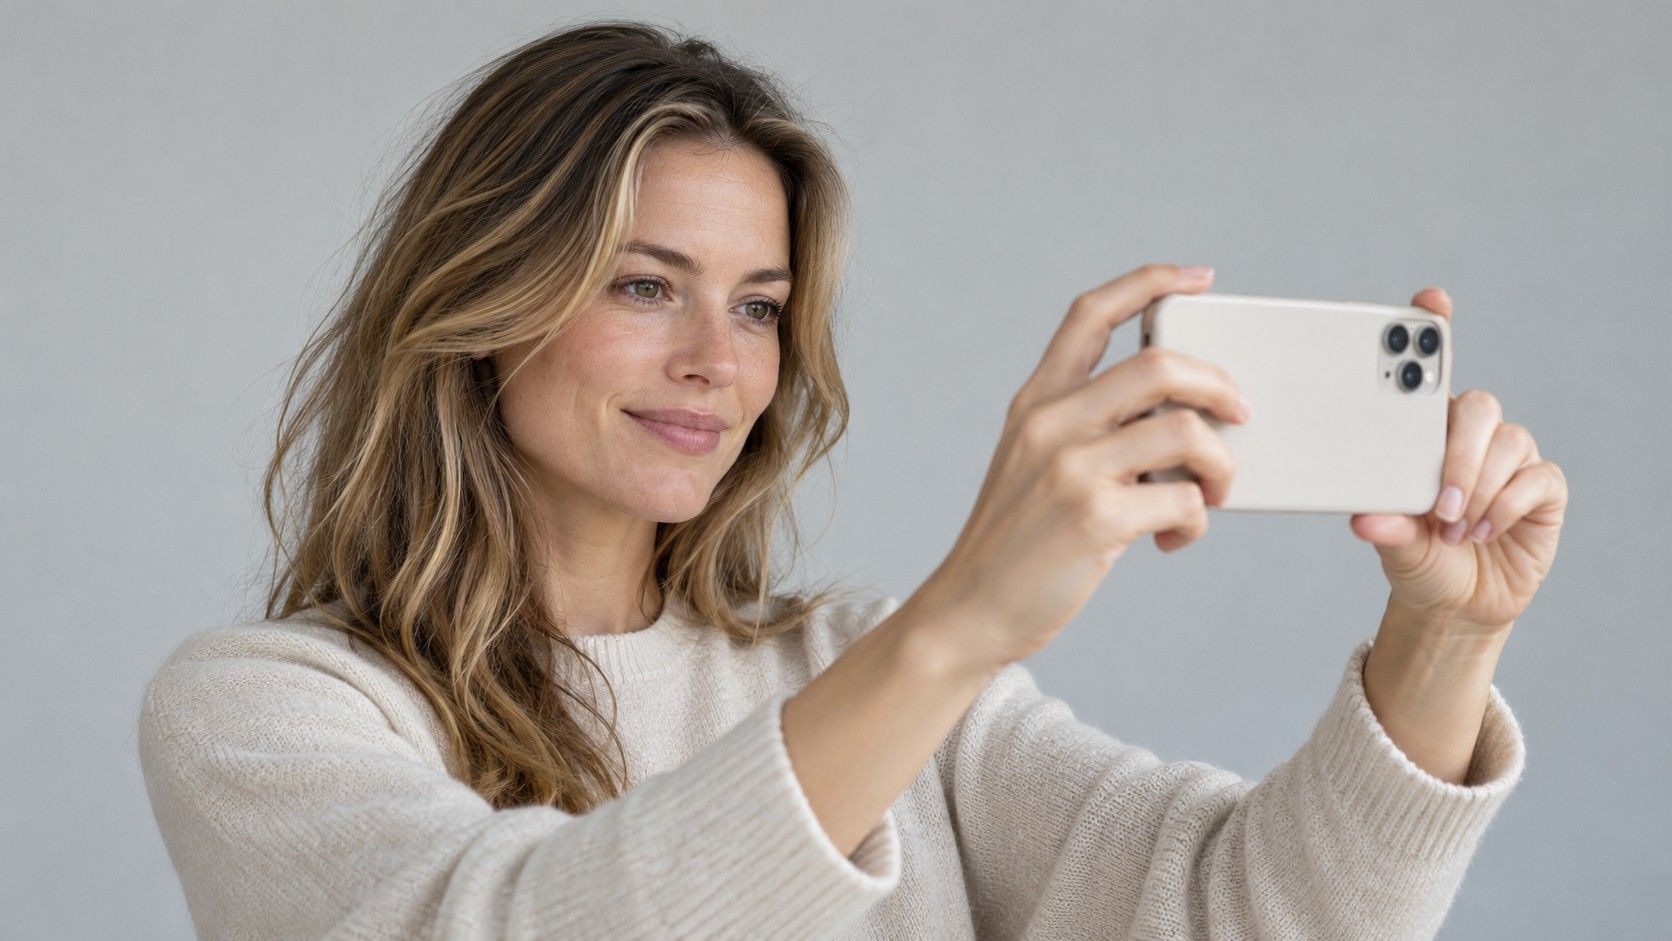
When you test hair color on a photo, the most useful result is a comparison you can trust. A flattering filter, a brighter face or a different crop can quietly change the answer. I would treat the original photo as a fixed reference and make small, deliberate edits around it. That lets you judge whether you prefer lighter hair, a warmer reflection or a different frame for your face, without mistaking a polished picture for proof that a shade will work on your actual hair.
Choose a photo that still looks like you
Take the picture in indirect daylight with your face and most of your hair visible. Near a window is a reasonable place to start, provided one side is not brightly lit while the other sits in deep shadow. Let the camera settle its exposure before taking the shot. If the photo makes your skin look much paler or warmer than the mirror does, try a different position instead of building the test on a color cast.
A plain, neutral background makes the boundary of the hair easier to inspect. A bright red wall can affect the overall impression, while dark hair against a black coat may disappear into the outline. Wear a simple top and keep any hair crossing the cheeks reasonably clear of the eyes. You do not need a studio portrait. You need enough separation to see where the edit starts and where your face remains unchanged.
Keep the original without smoothing, makeup adjustments or automatic face reshaping. Everyday makeup is fine if that is how you normally present yourself, but note a strong lipstick or unusually dark brows. They influence the contrast you are evaluating. For a major change, a second plain daylight photo can be useful later; do the first comparison on one unchanged image so that the lighting stays consistent.
Record the contrast you already have before changing it
Look at the relationship between the hairline, eyebrows and skin in the original. Are the brows much darker than the hair? Does the hair form a distinct border around the forehead, or is that border fairly soft? This is a visual starting point, not a diagnosis of your coloring. The purpose is to notice what a new depth would change, particularly around the eyes and temples.
Natural roots and colored lengths may tell different stories. If your roots are darker than an old blonde, the photo already contains two levels of contrast. Try to keep both visible. A simulator that fills everything with one flat shade can remove that distinction and make a dark result look more severe than a dimensional salon color might. Equally, an all-over blonde edit can hide the darker regrowth that you would eventually see again.
Do not use a grayscale conversion as a final verdict on flattering color. It can help you notice light and dark areas, but it removes the warmth and hue you also need to judge. Return to the color image and describe what is there. A note such as dark brows with medium brown hair is more useful for this exercise than forcing yourself into a seasonal category from a single photograph.
Change depth first, then compare warmth
Begin close to your current depth. If your hair is medium brown, compare a slightly deeper brown and a slightly lighter brown before testing a very pale blonde. Keep the tone as similar as the tool allows. The question is whether you like a stronger outline, a softer outline or roughly the balance you have now. A huge jump can be interesting, but it bundles several changes into one impression.
Once you have a preferred depth, compare warmer, neutral and cooler versions within that range. Watch the face while you switch between them. Does a warm reflection feel lively or distractingly orange? Does a cool shade look calmer or too gray? These are preferences to record, not rules that every person with a certain eye color must follow. Camera processing and screen color can alter the apparent answer.
Keep the intensity realistic enough to compare. A bright copper overlay and a muted brown differ in saturation as well as warmth. If the copper wins, ask whether you like its warm direction or its vividness. Try a quieter version if the tool permits it. Isolating that distinction can save you from requesting a strong all-over color when a subtler warm reflection was the part you actually wanted.
Check whether the result changes your face or just your hair
Put the edited picture beside the original at the same size. Examine the forehead, ears, eyebrows and cheeks. Their color and shape should remain stable if the test is meant to isolate hair color. Some editing workflows include broader beautifying changes, and an attractive result can be difficult to attribute to one thing. If the face has changed, return to the simplest version of the edit available.
Fine hair at the temples, a fringe and loose curls are common places for messy boundaries. Look for patches of skin tinted by the overlay or old hair color showing through at the crown. A dark fringe that remains unchanged can make a blonde test look disconnected. Correct the selection if possible; otherwise mark the limitation and avoid treating that result as a fair comparison with a cleanly edited darker shade.
| Photo detail | How it can mislead | Useful check |
|---|---|---|
| Brighter skin in the edited version | The whole portrait may feel fresher regardless of hair color | Compare facial exposure with the original |
| Solid color without highlights | A plausible shade can look flat or unusually heavy | Look for retained shadows and strand detail |
| Colored skin around the hairline | The shade appears to clash with skin it has partly recolored | Inspect temples, ears and forehead closely |
| Unchanged dark fringe | A light result keeps contrast that an all-over change would remove | Check the complete hair selection |
| Different crop or screen brightness | One version gains emphasis or extra apparent light | View both under identical conditions |
Step back after the close inspection. A shade can survive every technical check and still feel unlike you. That response is worth recording, too. Try to name the reason: too much contrast, too little definition, too bright or simply a change you do not want. You do not have to turn every personal preference into a theory about skin undertone.
Test a wearable version of the change
An all-over color is only one interpretation of a shade you like. If a light result softens the face too much, lighter pieces through the lengths with some depth at the roots may be worth discussing. If a dark result looks heavy, dimensional placement could create a different impression. A photo tool may not reproduce these arrangements accurately. Save the result as a direction and let the consultation address placement.
Check the shade against your ordinary routine. Compare it while imagining your usual parting, texture and styling, rather than the unusually smooth finish of an edited portrait. If you wear your hair tied back, the roots and hairline become particularly visible. With a short cut, an overall depth change may read differently from the same shade spread through long hair. A second photo showing your usual hairstyle can add useful context after the controlled test.
Maintenance belongs in this stage. A large gap between natural roots and the target color may make regrowth more noticeable, and different techniques can change how it grows out. Fading also depends on the shade, hair condition and color history. Ask what upkeep the proposed service would involve instead of assuming that a subtle-looking edit means little work. Decide how often you are willing to revisit the salon before settling on a plan.
Use the pictures to make the salon conversation specific
Bring the unedited original and two preferred versions, with a sentence explaining each choice. For example: I like the depth here, but the tone is too red; or this lightness works for me, though I want to keep some darker pieces. Those details give the colorist room to translate the visual preference into a workable approach. A screenshot alone leaves a lot to interpretation.
Explain your previous color use even if the virtual result looks easy to achieve. Old dye, lightened ends and natural roots can react differently during a service. A photo cannot establish the condition of the hair or predict the outcome of processing. The stylist may want to assess it in person or test a strand before recommending a major change. Ask what the first appointment can reasonably deliver and what might need a longer route.
Keep the final decision grounded in the real starting point. Your photo test has done its job when you can explain the contrast you prefer, the tones you want to avoid and the maintenance you would accept. Exact color formulas and achievable lift still belong to the assessment of your hair. The edited picture is useful evidence of taste; it becomes much more useful when accompanied by clear observations and an honest baseline.