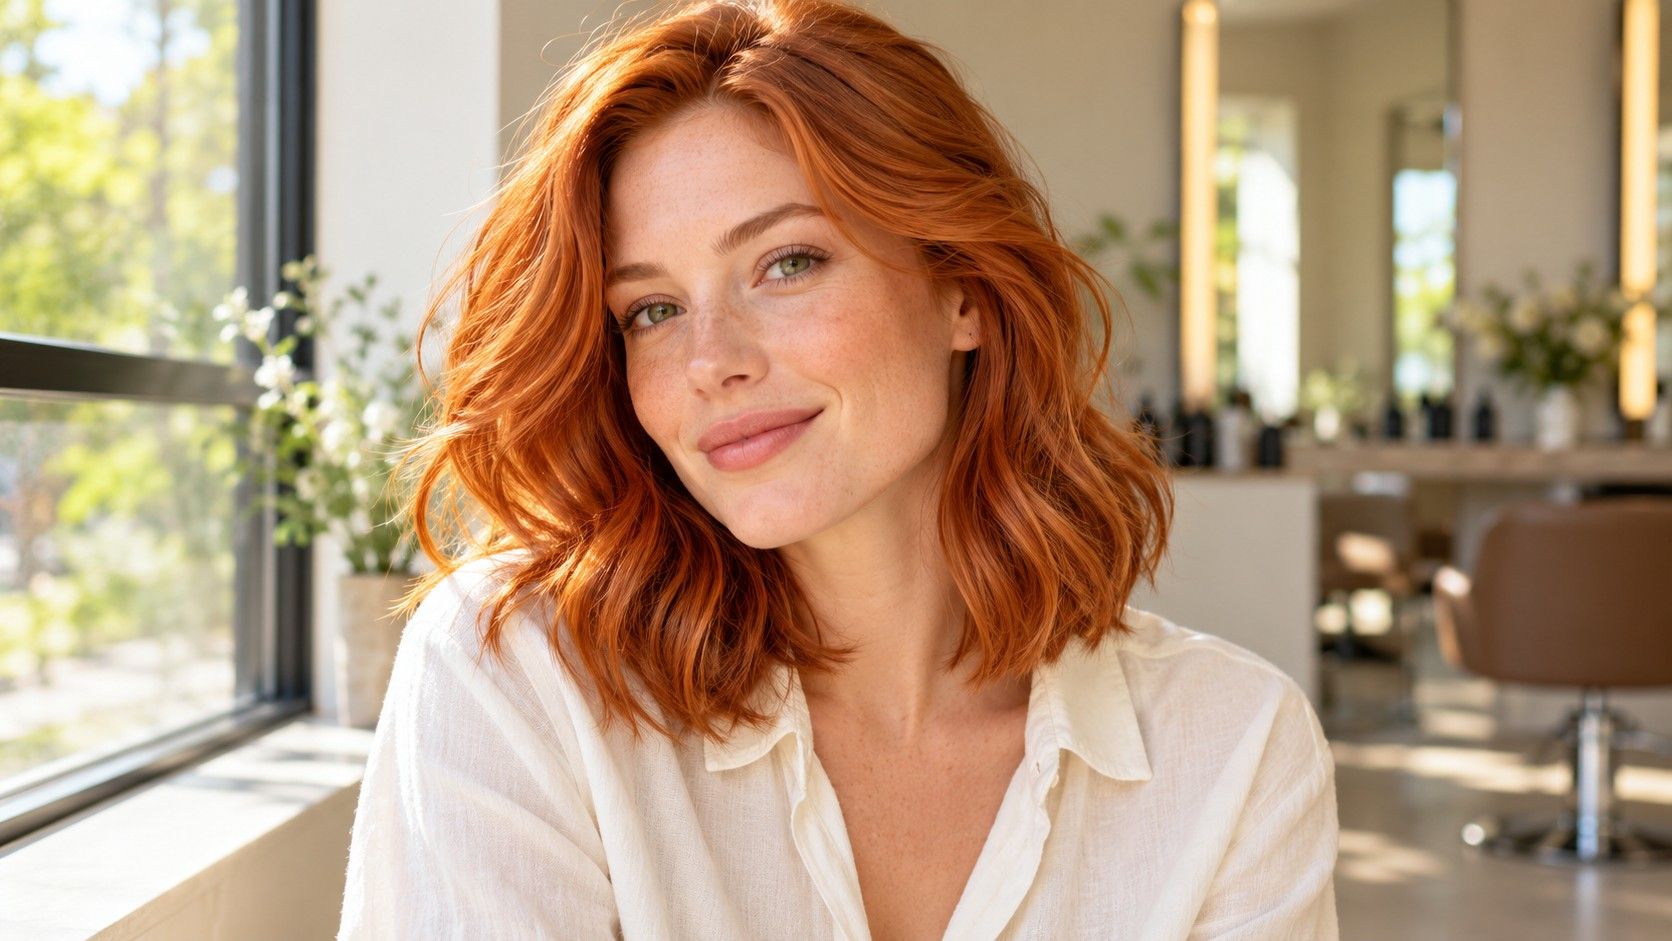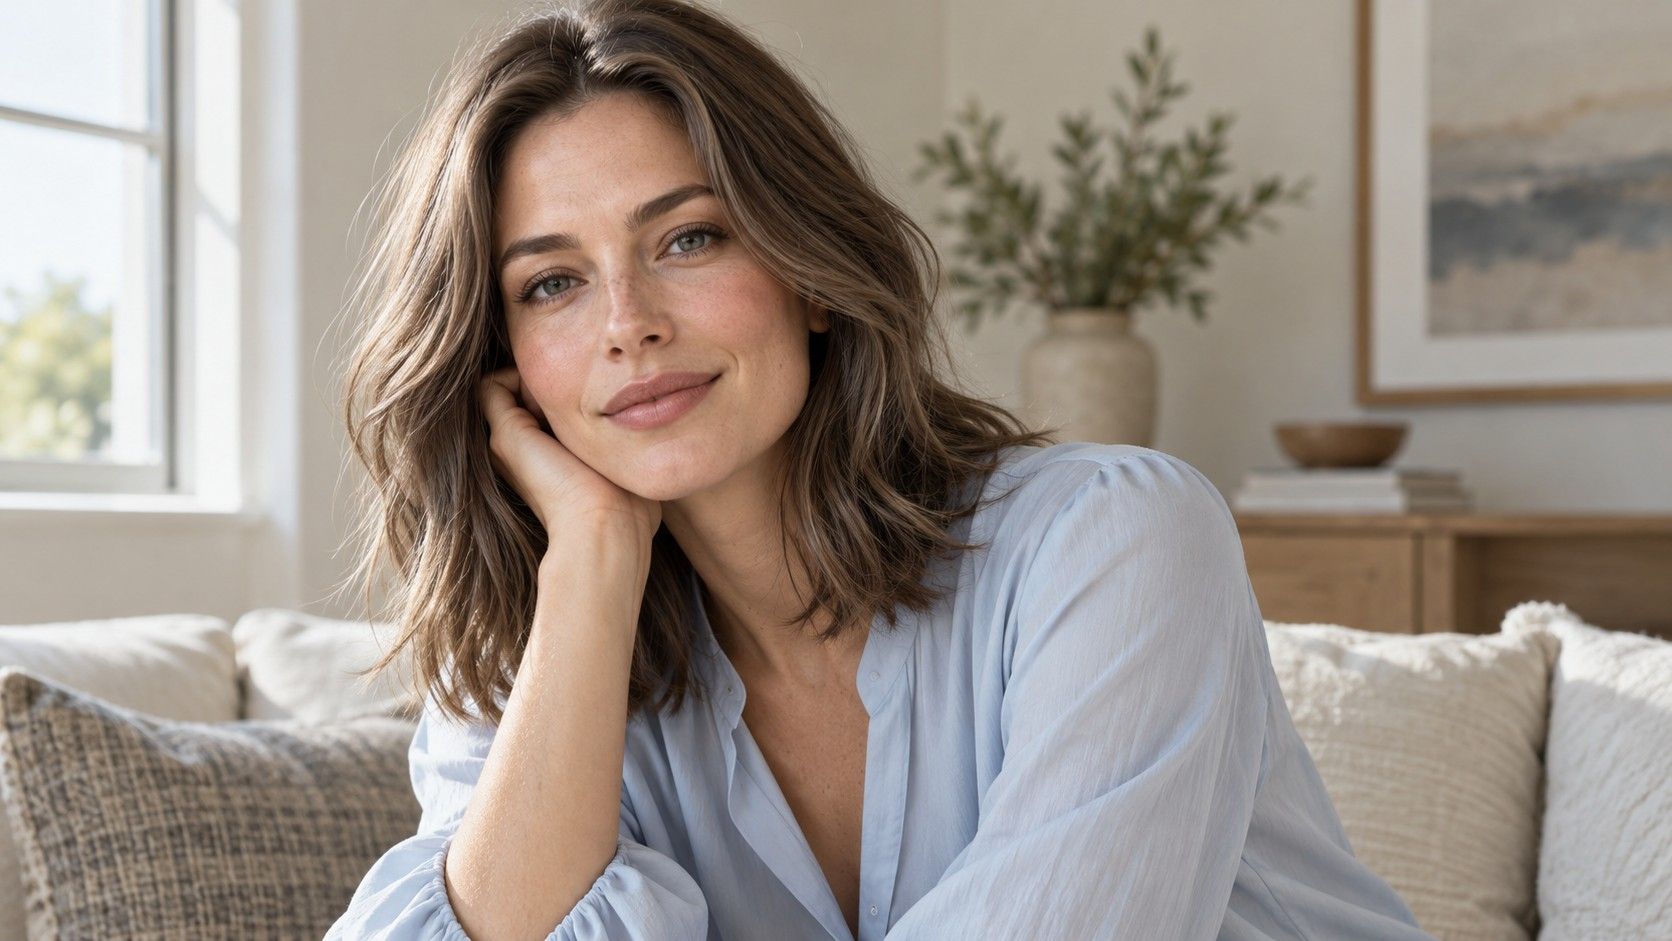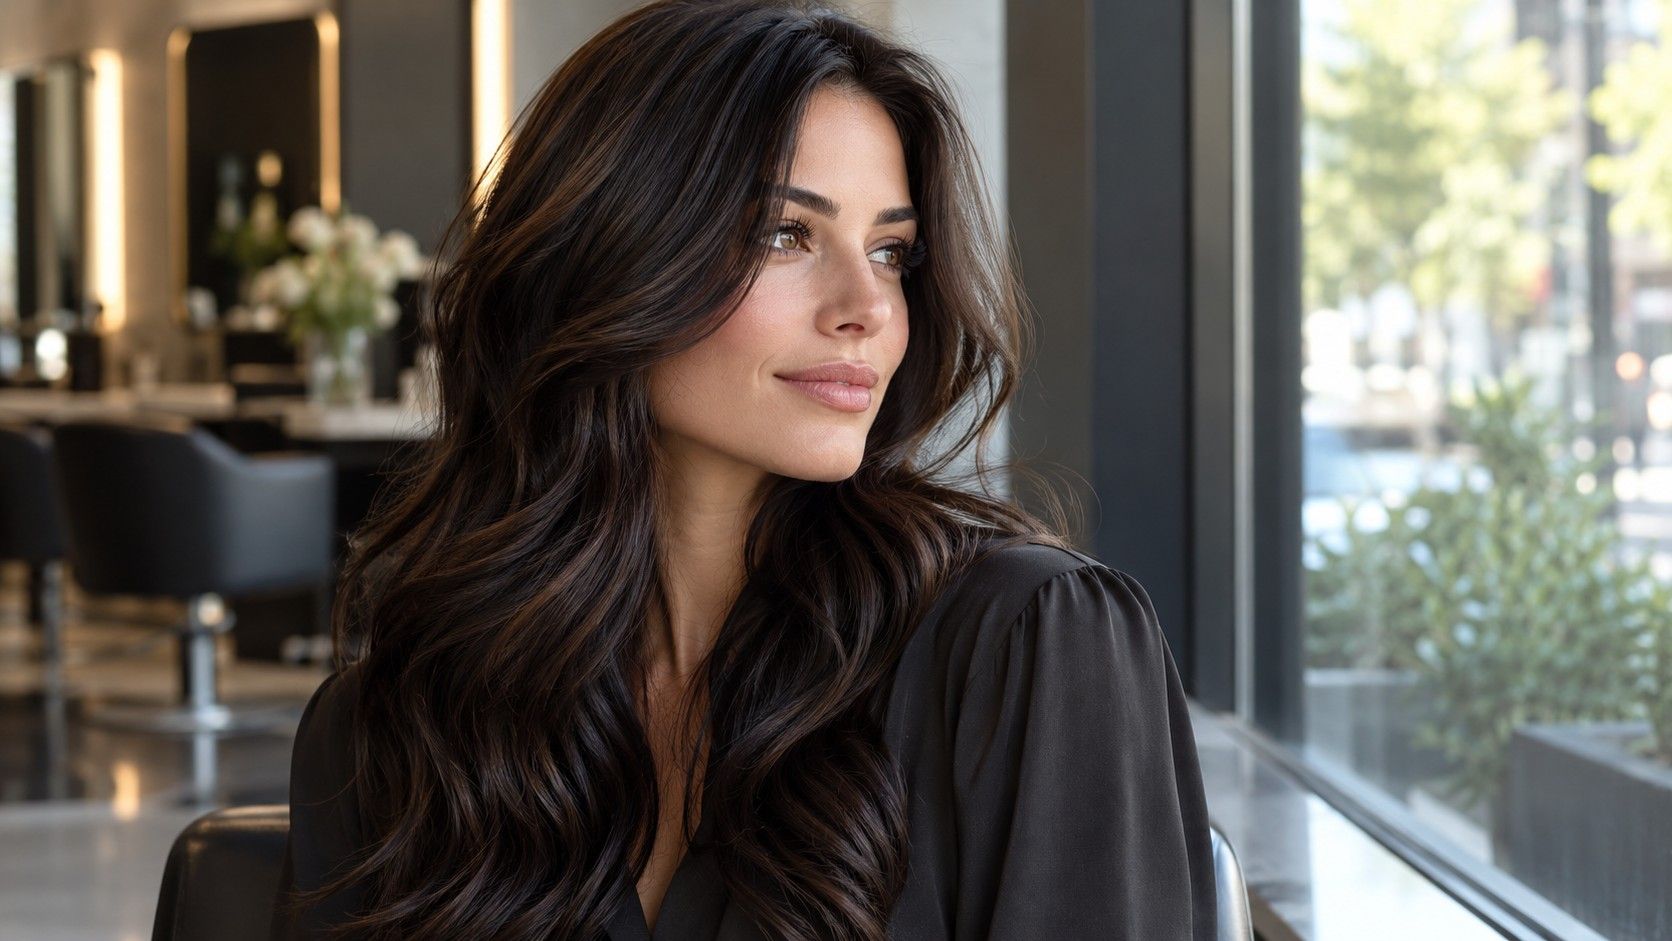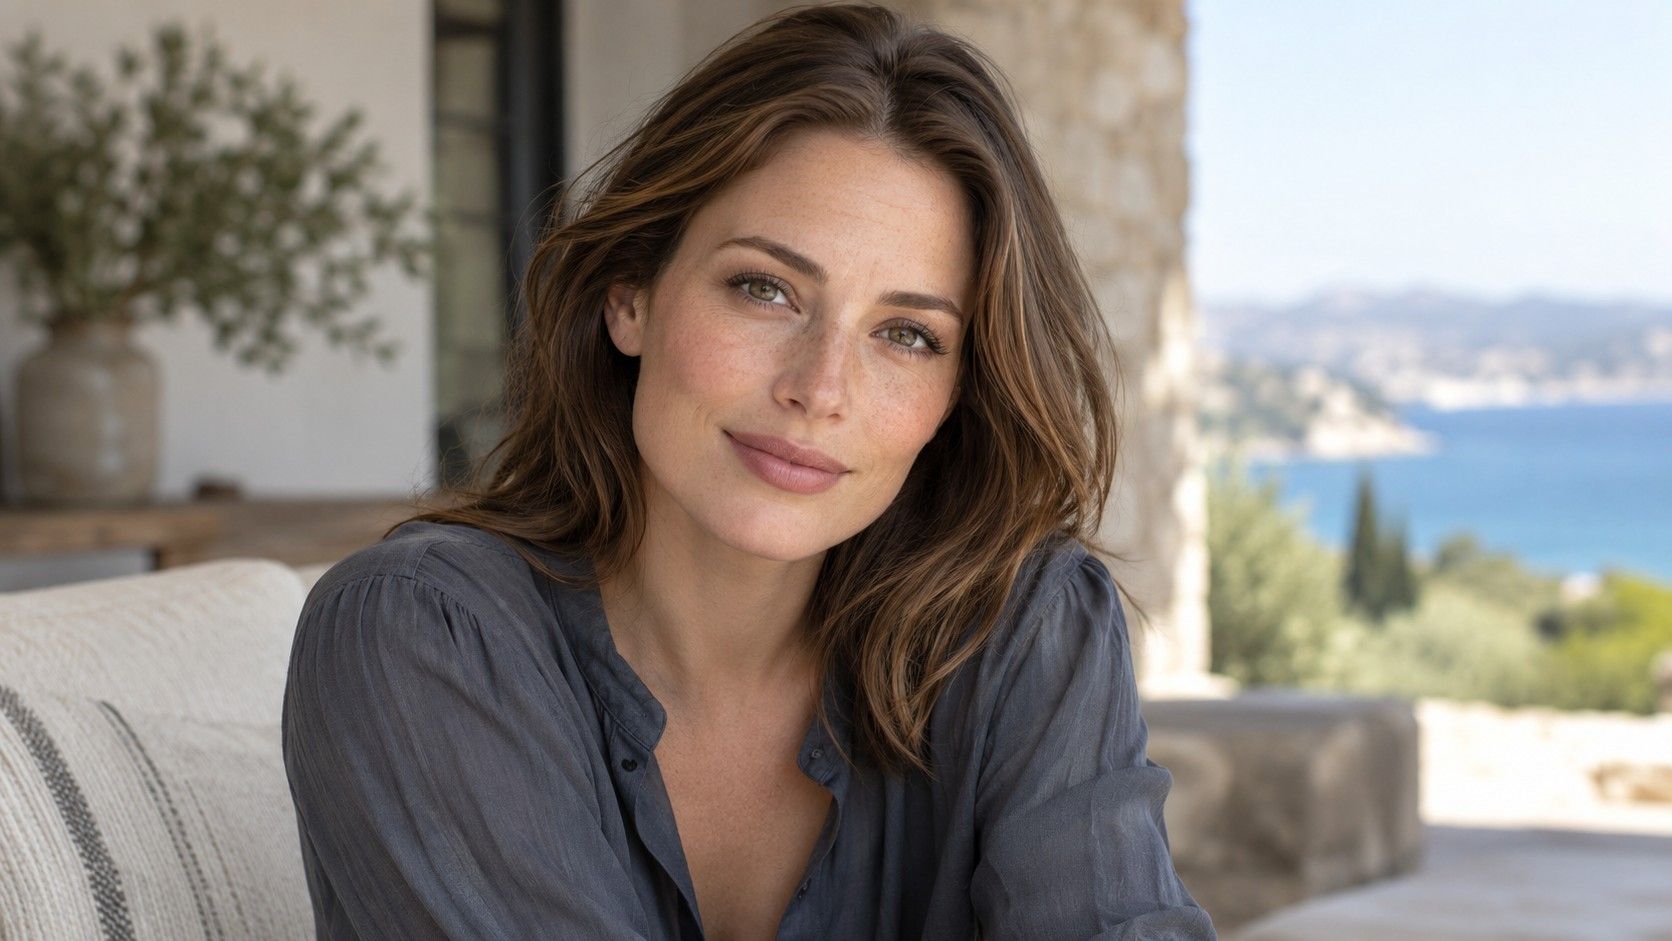
Hair colors for pale skin range from very light blonde to deep brunette, and the difference is largely about the effect you want. I would compare depth and contrast first, then consider tone, your existing hair and the upkeep behind a reference photo.
Choose the contrast you want before choosing a color name
Pale skin describes an aspect of skin depth, not a complete set of coloring. Two people with equally light skin can have very different natural hair, eyebrows and preferences. One may enjoy a strong dark frame around the face; another may prefer a softer boundary. A list of hair colors for pale skin cannot choose between those aims without knowing what you want to see.
I would start with that decision rather than a rule about being warm or cool. Look at an unfiltered portrait of your current hair. Are you hoping for more definition around the eyes, a gentler edge at the temples or a brighter impression through the lengths? Write down the change in ordinary words. It is easier to compare references when they are answering one question.
Ignore claims that pale skin must avoid black, red or very light blonde. Each can create a deliberate effect, and the result depends on depth, tone, placement and the rest of the face. The useful limit is personal: how much contrast do you enjoy, how far do you want to move from your starting hair, and what work are you willing to maintain?
Read the roots separately from the dyed lengths
Check your natural root color in indirect daylight. Do not judge only the brightest pieces around the face or the ends that have spent time in the sun. If you have dark roots and pale highlights, you already have more than one depth in the picture. Consider which part of that relationship you want to preserve before collecting an entirely different reference.
Look at the eyebrows too, without treating them as a shade chart. Lighter hair beside deep brows can produce a contrast you like; darker hair can connect those features more strongly. Neither requires the brows to be dyed to match. Use the relationship as visual information, then consider your usual makeup and how much definition you want on an ordinary day.
Previous dye needs its own account. Tell a colorist about highlights, permanent color, bleach and other relevant treatments you remember. A photograph may conceal a darker band or uneven lengths, while a filter can cover them completely. Your starting hair affects the route to a new shade even when the final reference looks simple. An attractive single-color photo does not imply a single-step appointment.
Compare three depths without changing the lighting
Choose a reference near your present depth, one lighter and one deeper. Keep the images reasonably comparable in framing and finish. If you use virtual previews, apply them to the same portrait and keep screen brightness steady. A pale blonde in soft window light and a dark brown under a bathroom lamp are poor evidence for deciding which depth you prefer.
Inspect the area around the face before the shiny ends. A deep shade can make the hairline more defined, while a light shade may make the transition less obvious. Look at the portrait at normal size, then cover the lower lengths and check the temples. This helps distinguish your response to the face frame from your response to an appealing hairstyle.
If a darker reference feels severe, try an intermediate depth before deciding all brunette shades are wrong for you. If a light option feels too close to the face in apparent lightness, compare a version with more depth near the roots. Placement can change the balance without abandoning the color family. The comparison should leave you with a clearer preference, not a universal verdict about pale skin.
Treat warmth and coolness as another comparison
Once you have a useful depth range, compare tones within it. A brown with visible copper, a more neutral-looking brown and a cool brown can give different impressions even when none is lighter than the others. The same applies to blonde: a golden reference and a quieter beige-looking one may be closer in depth than their names suggest.
Do not diagnose undertone from one vein photo or a filtered portrait. Redness, shadows, makeup, a tan and camera processing can all influence what you see. Pale skin can also show changes in apparent color quite clearly when lighting shifts. If a seasonal palette helps you collect references, use it as a styling vocabulary rather than proof that an entire family of shades is forbidden.
I would describe the visible preference instead: less orange beside the cheek, a little more warmth through the lengths, or a brown that stays quieter near the face. Those observations give a colorist something to discuss. They also leave room for a practical version of the idea if your preferred photograph depends on editing or cannot be reproduced exactly from your starting hair.
Use red and very dark references for their actual effect
Red shades can draw a great deal of attention because they change both tone and, sometimes, apparent depth. Compare a restrained auburn with a brighter copper at a similar depth if possible. Ask whether you enjoy the warmth itself or mainly the dramatic difference from your present hair. Do not assume that a pale complexion settles the answer in advance.
With very dark references, check whether you like the sharp boundary around the forehead and jaw. Look at the eyebrows and the amount of visible texture in the lengths. A photo in which the hair has become one featureless black area may be underexposed; it does not tell you how a real dark shade will reflect light. Find a second view before rejecting or choosing it.
These stronger changes deserve a conversation about what happens later. Ask how the selected tone might change between visits and what a future move to another shade would involve. Avoid choosing on the assumption that you can reverse a dramatic result as easily as switching off a filter. Your existing hair history and the proposed process belong in that discussion.
Check a preview for camera and software mistakes
Take a recent portrait near a window, facing indirect daylight, with the full hair outline visible. Avoid direct sun, bright backlighting and nearby lamps that add a different tint. A strongly colored wall or top can reflect color onto your skin, so keep the surroundings simple. Check that your face retains detail instead of appearing as a flat bright patch.
Compare the original photograph with each edited version. If your skin is unexpectedly orange in both, the new hair shade is not the only variable. If a pale overlay spills across the forehead or misses dark roots at the parting, its effect on contrast is unreliable. Inspect the ears, fringe and loose strands before deciding the color itself looks wrong.
The preview also skips the work behind a result. It can paint blonde over dark hair or make previously lightened ends look uniformly rich. It cannot establish how evenly color will behave, assess hair condition or set an appointment plan. Save the original beside the edit and use the pair to explain a visual direction. Leave feasibility to a conversation about the real hair.
Choose a result that still works between appointments
Ask how the proposed shade will look as roots grow, particularly if the change in depth is large. A darker base, softer transition or different placement around the face may offer an alternative to a uniform result. These are possibilities to discuss with your colorist, not techniques to prescribe from a screen. Tell them how frequently you are prepared to return before the plan is settled.
Bring two references and identify what you like in each. Perhaps one has the right depth but too much golden warmth; the other has the tone you prefer but a face frame that is too pale. Add an unedited portrait and any useful photo of roots and lengths. Separating those preferences gives the salon more room to interpret the goal accurately.
Finish by asking about the process, its uncertainties and the care the proposed result would need. If a strand test or another preliminary check is recommended, let that evidence inform the decision. You do not need the shade most often recommended for pale skin. You need a color relationship you enjoy, reached by a realistic route and supported by a routine you will actually follow.