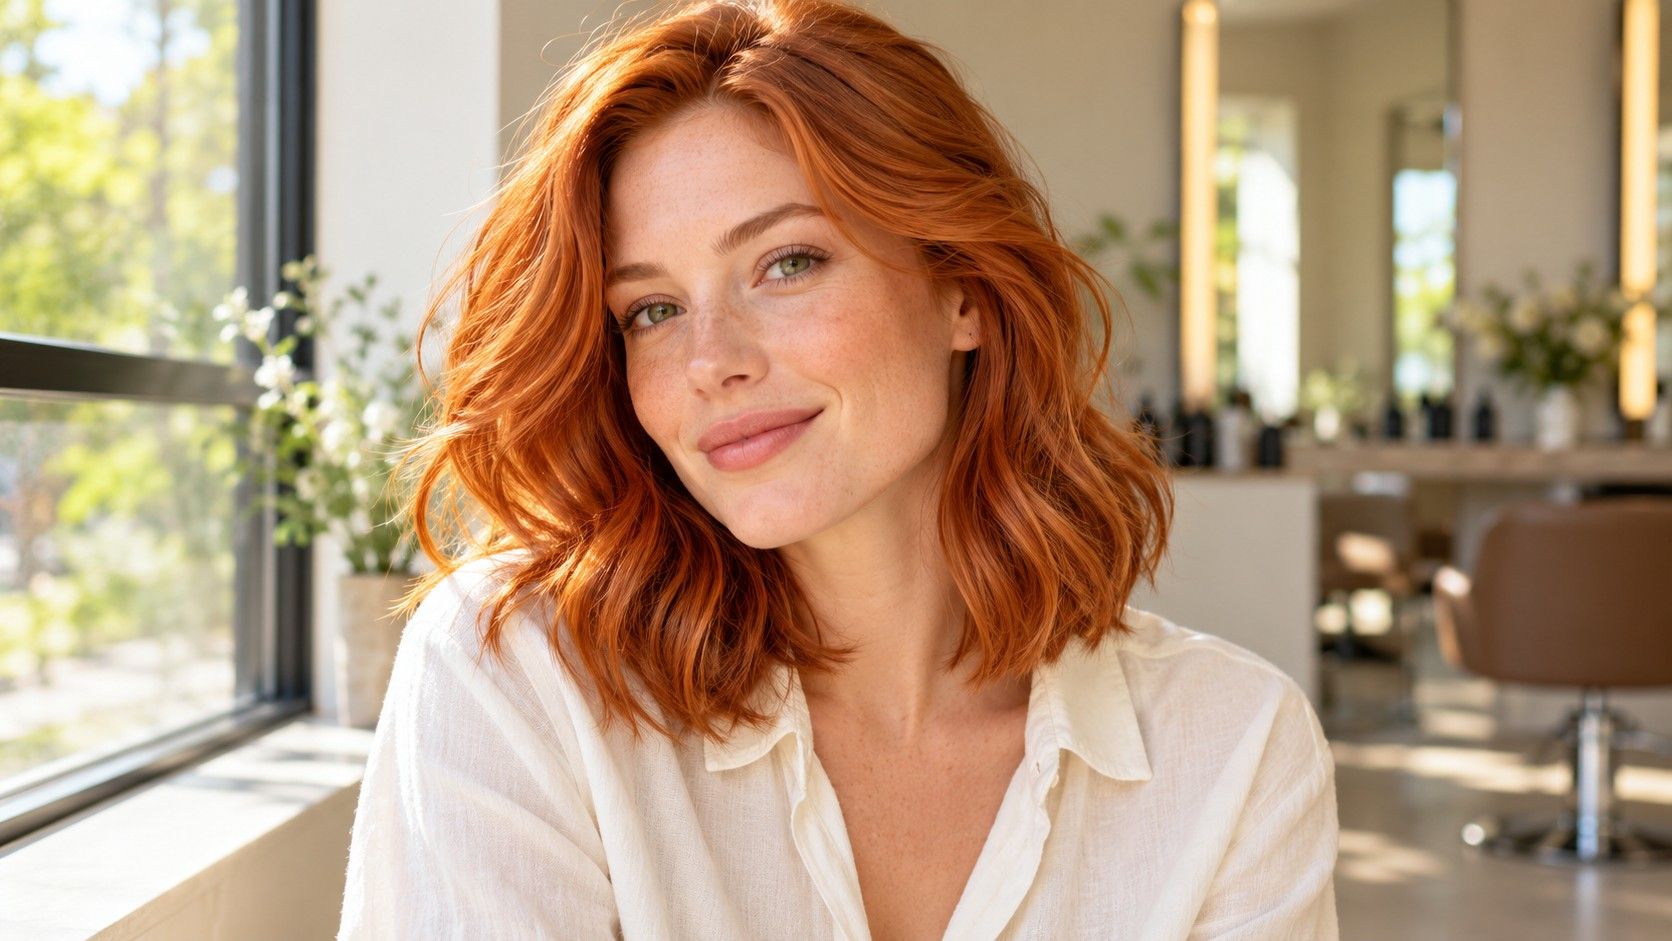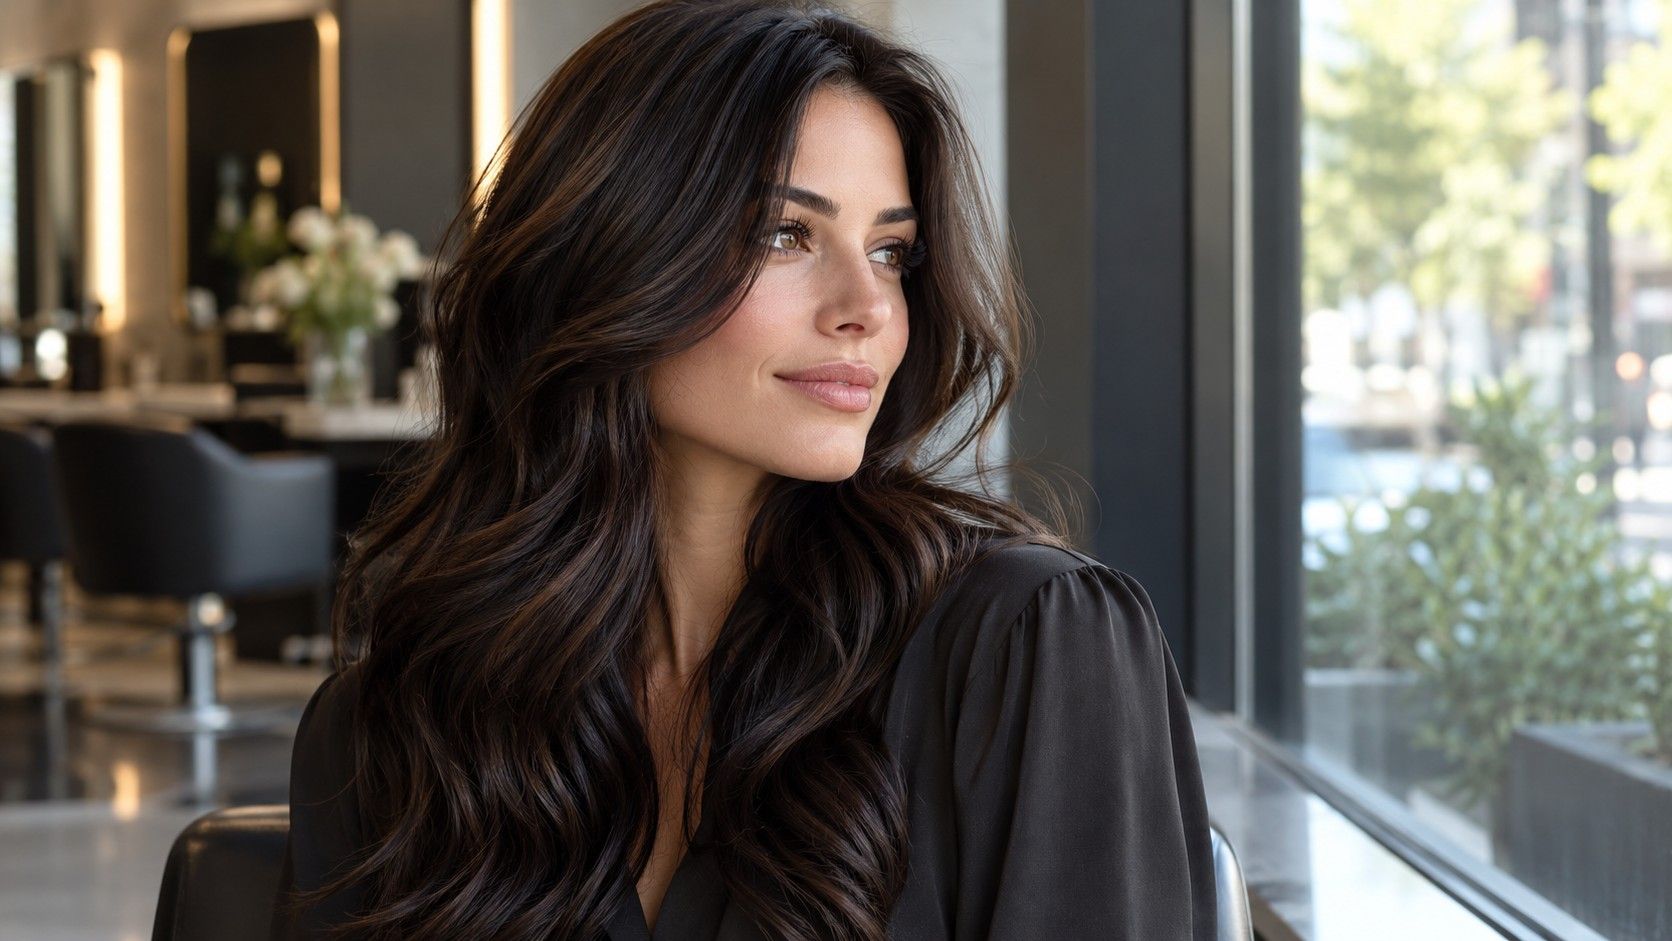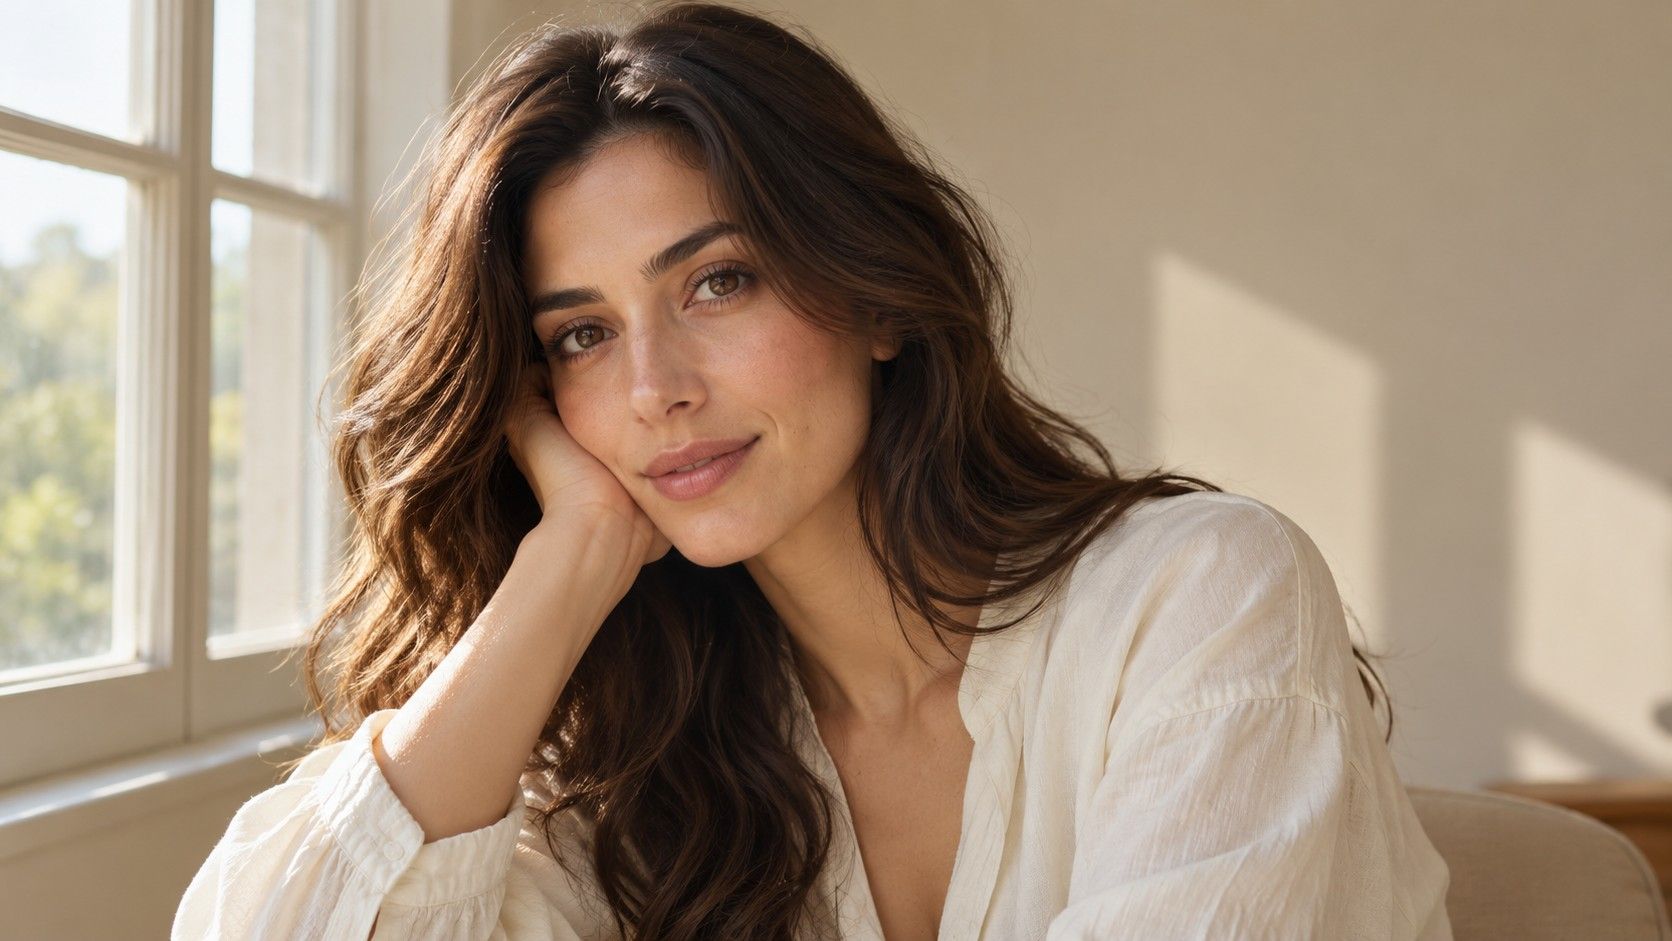
Choosing hair color for olive skin gets confusing when every chart gives a different rule. Olive is used for a range of complexions, and it does not settle whether you will prefer warm brown, cool brown or lighter hair. Compare depth and tone separately, using your own face in consistent daylight rather than trying to obey a universal shade list.
Start with a comparison rather than an undertone verdict
One online result may describe olive as warm, another as cool, and a third may recommend only neutral shades. These descriptions are not precise enough to choose a service. Your visible skin color also changes with lighting, makeup and sun exposure. Begin with the appearance you want: softer contrast, a brighter outline or a familiar depth with a different tone.
Photograph dry hair in indirect window light, with your face and a little of the neck visible. Turn off nearby colored lamps and remove camera filters. Use normal makeup or none, but keep it consistent across the comparison. A picture taken in a yellow bathroom and another taken outdoors cannot tell you reliably which hair tone you prefer.
I would keep the first pair simple: two browns at about the same depth, one warmer and one more neutral or cool. Notice the balance of the whole face instead of searching for one skin patch to prove a category. If the difference is unclear, retain both options. An uncertain photo comparison is a reason to gather better evidence, not to adopt a stronger rule.
Judge lightness independently of warmth
Once you have a preferred tone range, compare a version near your current depth with one somewhat lighter or darker. Very dark hair can make a strong outline, while lighter sections change how the face is framed. Neither effect is universally right for olive skin. Decide whether you enjoy the definition and whether it still feels comfortable with your usual makeup.
Pay attention to the brows and hairline. A preview that makes all the hair pale while leaving a dark root edge may be less convincing than a reference with a deliberate transition. Conversely, a single dark overlay may hide dimension and seem heavier than a real brown with subtle variation. Inspect what the image has changed before judging the shade itself.
Look at natural regrowth separately from the lengths. Highlights can make the roots seem darker through contrast, and old dye may change the apparent warmth of the ends. Describe both areas when discussing a new direction. The best starting depth is an assessment of the real hair, not a number guessed from a phone image or a rule linked to skin color.
Compare a few directions without turning them into prescriptions
A small shortlist gives you more information than a long list of supposedly flattering names. Keep a close-to-current option, a different tone at similar depth and one larger change if you want to explore it. Choose photographs with visible roots and texture. Product names such as mocha, honey and ash can mean quite different things between galleries.
| Direction to test | What it helps compare | What to inspect carefully |
|---|---|---|
| Neutral brown near your current depth | A familiar outline with a quieter tone | Whether the preview has flattened natural dimension |
| Warmer brown or golden accents | How visible warmth feels beside your face | Indoor appearance as well as bright outdoor reflections |
| Cooler brown | Whether reducing warmth suits your preference | A grey cast or changed skin color in the image |
| A lighter brown or blonde direction | Whether you want less depth around the face | Root transition, starting pigment and realistic upkeep |
Keep the observations personal and visible. You might prefer warmer pieces because the overall picture feels softer, or a neutral brown because your eyes remain the focus. Someone else with an olive complexion may prefer the opposite. There is no need to resolve that disagreement. The purpose is to identify your preference clearly enough that a colorist can discuss it.
Check the shade in your everyday setting
Put on a shirt you wear often and arrange the hair as you normally do. A ponytail reveals a different hairline from loose waves; a fringe puts more color directly above the eyes. Check the temples and the pieces near the cheeks. The placement of a lighter section can matter more to the overall effect than the difference between two similar brown tones.
Compare the images at the same screen brightness and revisit them later. Night mode and vivid display settings can shift warmth or intensity. You do not need a calibrated monitor to narrow a shortlist, but subtle differences should not be treated as exact. If possible, ask to see physical hair swatches during the consultation while remembering that they still do not predict your individual result.
A tan, surface redness or a change in foundation may alter the first impression. Avoid buying a new shade on the strength of one unusually warm or cool photograph. If you have pictures from different times of year, look for preferences that remain consistent. This is a practical check on the shortlist rather than a way to diagnose a permanent undertone.
Keep previous dye and maintenance in the decision
Tell the colorist about permanent dye, highlights and recent toning, including approximate dates and any unknown home products. A pale reference does not show what would be needed to reach it from your existing color. Areas with different histories may need different consideration. Mention brittle lengths or a scalp concern before a service is planned rather than trying to hide it under the inspiration pictures.
Ask how the result may look as it fades and grows out. A close-to-natural brown, a brighter face frame and a large all-over depth change can have different maintenance patterns. There is no single schedule that follows from having olive skin. The practical answer depends on the service, your hair and how much visible change between appointments you are comfortable with.
Be direct about time and care. If frequent appointments are unrealistic, say so before discussing a demanding shade. Ask what the plan looks like if you postpone a visit or eventually stop coloring. Use products recommended for the actual result rather than adding warm or cool pigment just because an online chart recommends it for your complexion.
Bring a shortlist that leaves room for a realistic plan
Select two preferred references and one showing a feature you dislike. Add a sentence to each: “keep this depth,” “like the subtle golden pieces,” or “too much grey around the face.” Bring your original daylight photo too. This makes the consultation about specific visible choices rather than a debate over whether olive skin belongs in a warm or cool category.
Ask which parts can be achieved with the current color and which require further assessment. A major change may need a strand check or a different approach after the hair is examined. Agree on the priority: depth, warmth, placement or a combination. When all three differ from your starting point, identify which feature matters most so any compromise has a clear purpose.
Keep the final direction in plain language, together with the agreed maintenance plan. A neutral brown, a warm accent or a cooler result can each be a considered choice when you understand what you like about it. Your complexion supplies context. It does not remove the need to look at your actual hair, your daily routine and the amount of change you want to see.