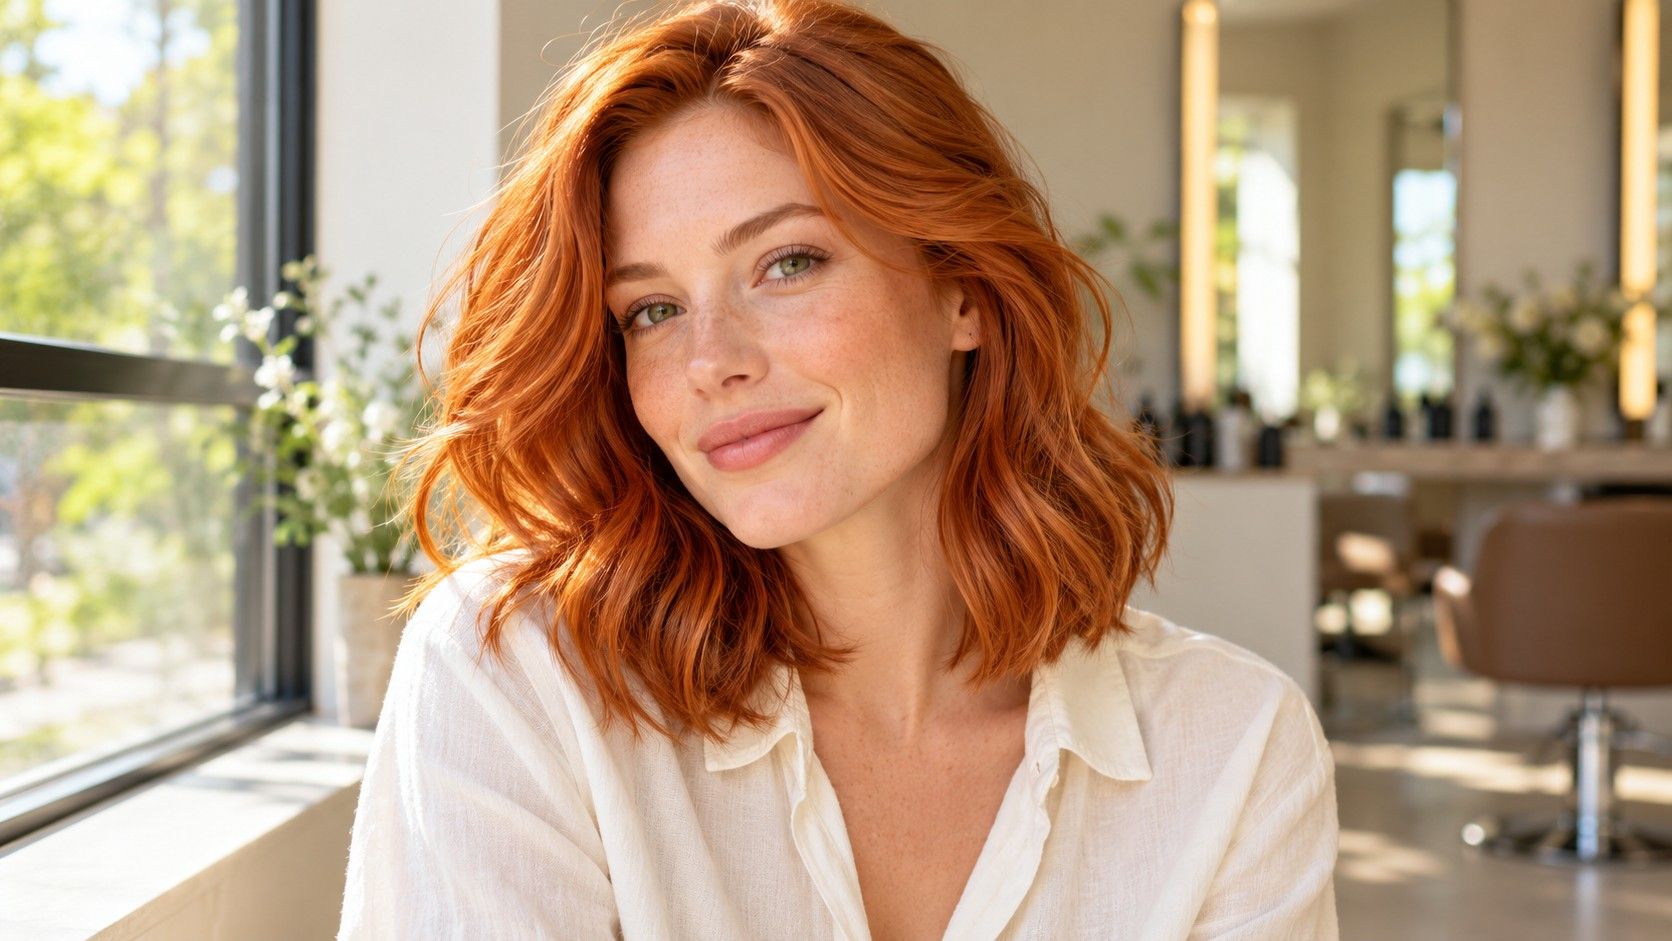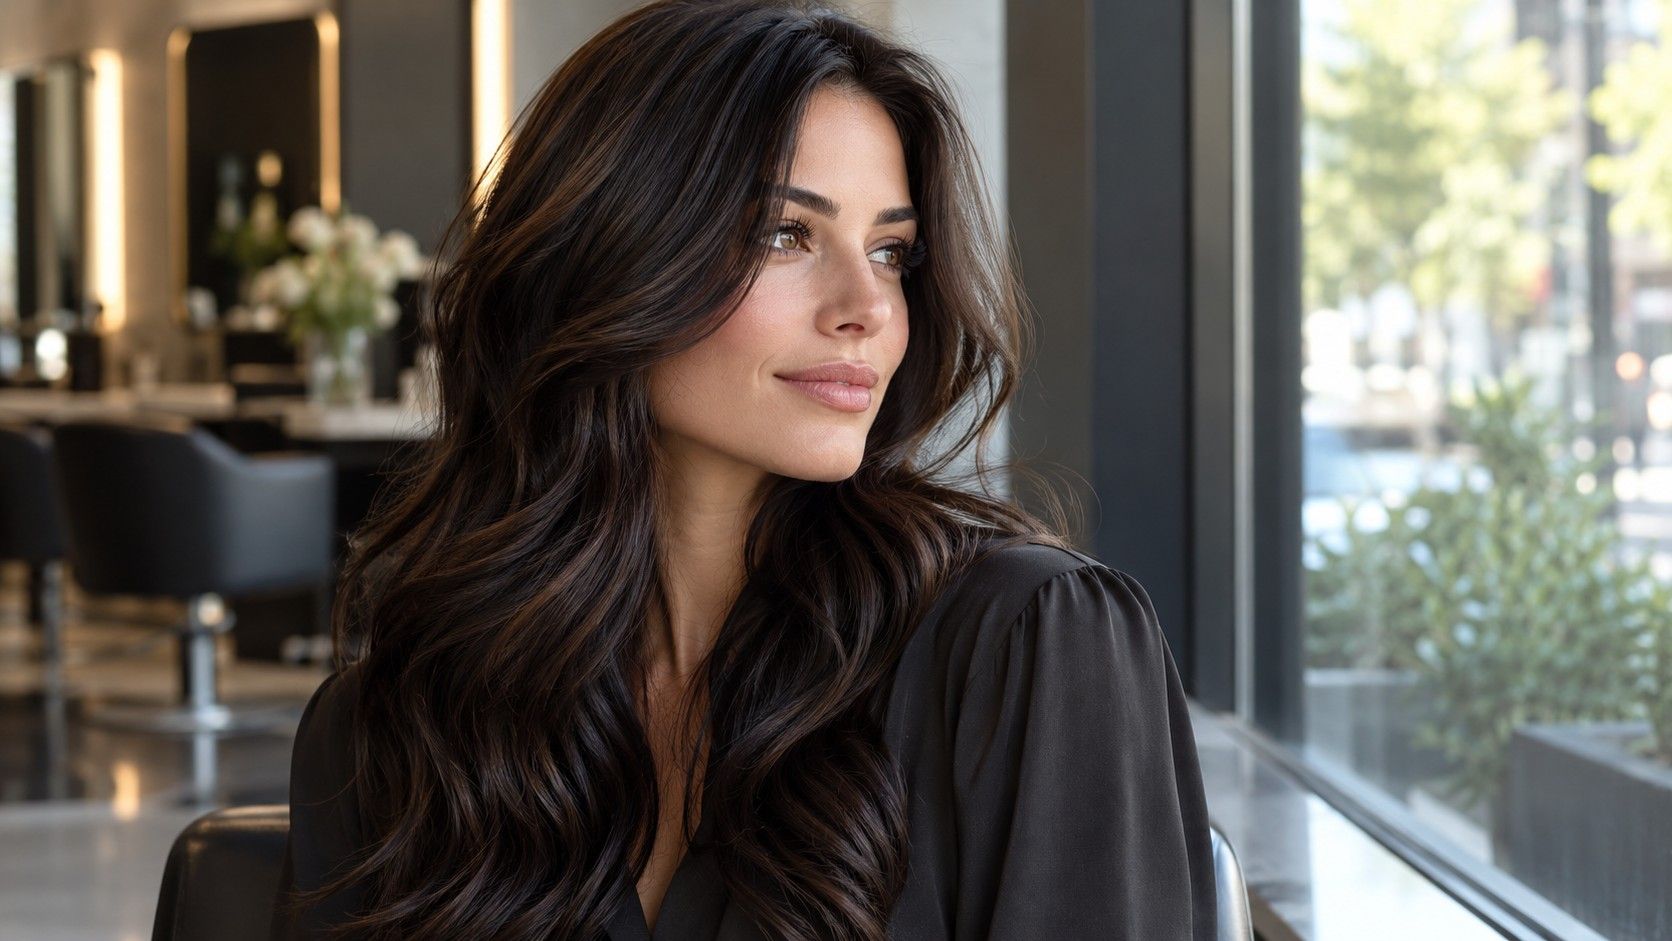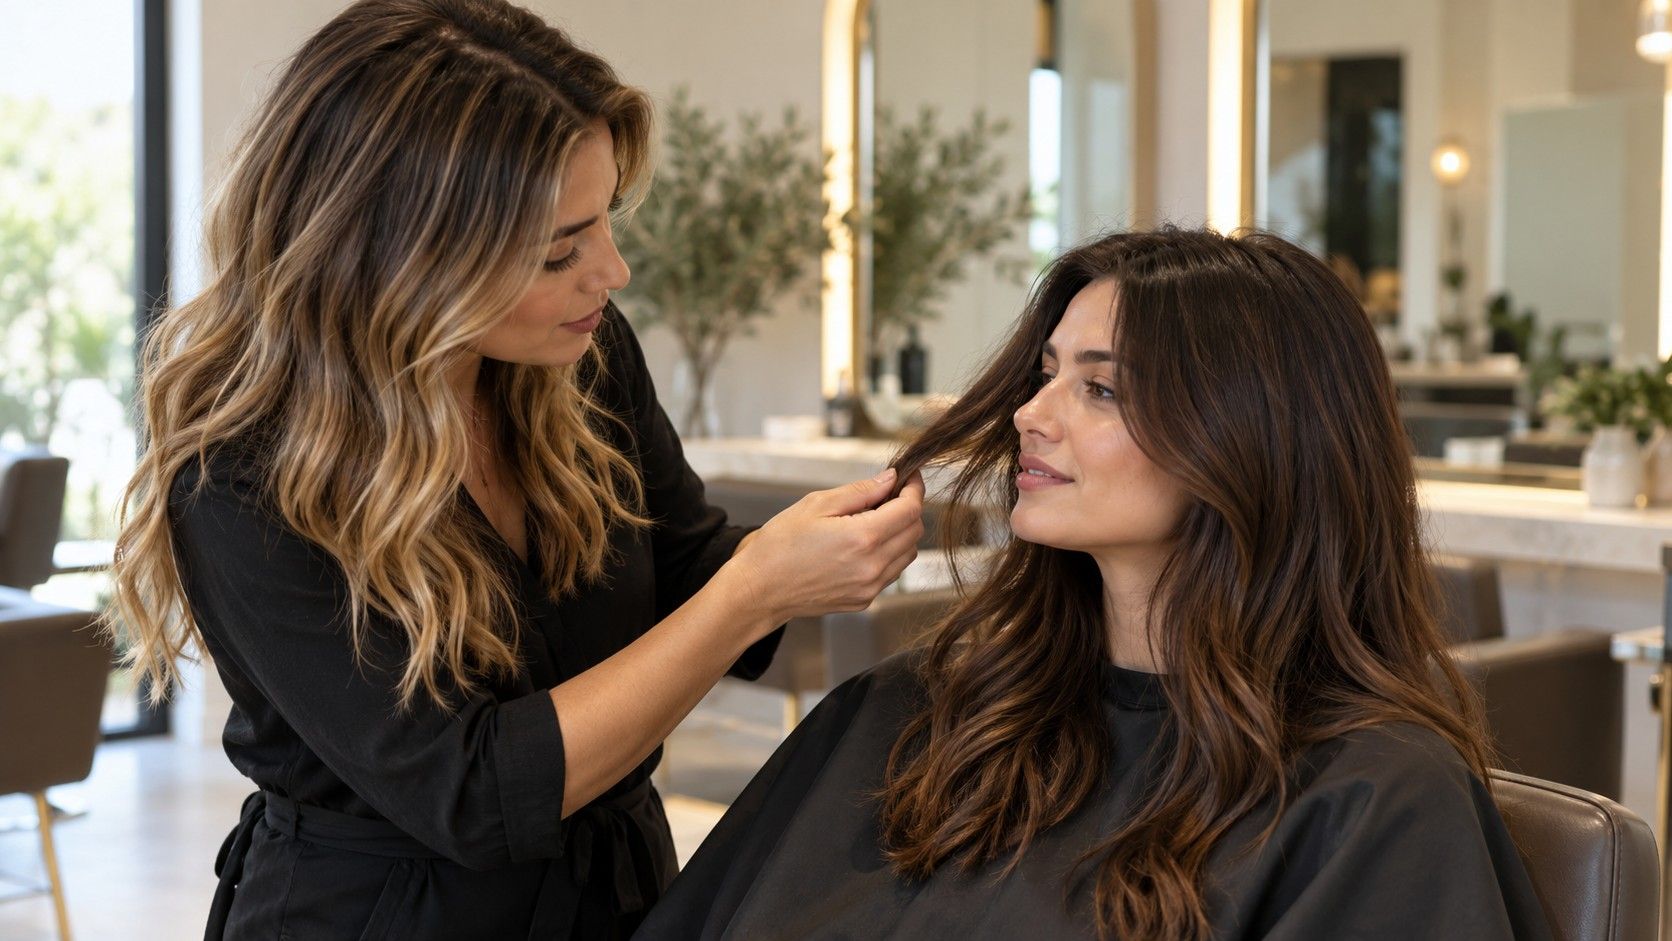
A convincing preview can make a new shade feel settled before anyone has looked at your hair. That is where I would slow down. A hair color simulator offers a picture of a possible direction; the route from your current color to that picture still needs checking. Use the result to compare depth, warmth and the effect around your face, then bring the questions it raises to a colorist. A useful preview should leave you with a small shortlist and a clearer idea of the upkeep you would accept.
Read the starting color before judging the destination
Look at the unedited photo first. Can you distinguish the roots from the lengths? Does the light show a copper reflection that you recognize in a mirror, or has the camera made your brown hair look almost black? If the starting image is misleading, the edited version inherits that problem. A pale blonde overlay on an underexposed photo may look striking while telling you very little about the shade you would enjoy in ordinary daylight.
Separate your natural hair depth from the color currently on the ends. Natural regrowth can help show the contrast you are accustomed to around your face, but old dye changes the practical conversation. Dark permanent color, previous lightening and a band of uneven warmth are relevant even when a preview covers them beautifully. Write down what you remember using, roughly when you used it, and where the treated hair remains. A stylist can decide which details need closer examination.
I would save one honest baseline image alongside every edited result. Keep the same crop, expression and exposure. Otherwise it is surprisingly easy to prefer a brighter face or a better camera angle and attribute that preference to the hair shade. The baseline is your control: it keeps the comparison attached to the color change itself.
Compare two results under the same conditions
Choose two neighboring possibilities before exploring a large transformation. For example, compare a neutral medium brown with a slightly warmer brown at a similar depth. Then, if you still want to, compare the stronger option with a lighter version. Changing one feature at a time helps reveal whether you are responding to depth or tone. Jumping between platinum, burgundy and black makes the pictures entertaining but the decision harder to explain.
Use the same original image for both results. A photo taken near a window in indirect daylight is often easier to read than one under a yellow ceiling lamp. Avoid direct sun across half your face, a strong colored wall, or a beauty filter. None of those conditions makes a photo worthless, but they introduce color shifts that can compete with the hair. Do not try to correct every shadow until your skin stops resembling itself.
Compare the saved pictures at the same size and screen brightness. Turn off any deliberate warm screen filter for the comparison, then look again later in a familiar setting. Screens differ, and a screenshot cannot serve as a precise salon color specification. If one result seems appealing only with the brightness turned high, note that dependence. You may like the glowing presentation more than the proposed depth.
Inspect the face, then inspect the editing
Start at the hairline, where the proposed shade meets your forehead and temples. Does the new depth make the face look sharply outlined, or does the face appear to lose definition? Neither response is automatically wrong. Some people want a dramatic frame; others prefer a softer effect. Compare your eyebrows and eyes as well as your skin. Very light hair beside naturally dark brows can be a deliberate choice, with a different effect from an even overall contrast.
Warmth needs a separate look. A copper preview may repeat warmth already visible in your coloring, while a muted ash result may reduce it. Photographs do not reliably establish your undertone or seasonal palette, and a flattering edit does not prove a particular season. Describe the visible effect instead: the red looks too vivid, the brown feels more balanced, or the blonde loses the definition you like. Those observations are easier to discuss than a label inferred from one image.
Now check whether the software has colored the right area. Earrings, skin near the temples, a dark background and fine flyaways can confuse an edit. A heavy block of uniform color may also hide the highlights and shadows that make real hair look dimensional. If a result seems oddly helmet-like, inspect the mask before rejecting the shade. An editing error and an unsuitable color can look similar at a glance.
Translate a good-looking preview into questions about real hair
The image shows an appearance, not a formula. It cannot tell you how your previous dye will lift, whether the ends will accept color evenly, or how much processing your hair can tolerate. Those decisions depend on the actual hair and the products involved. A colorist may recommend a strand test, a staged change or a different shade family after assessing your starting point. Leave room for that advice instead of treating the screenshot as a guaranteed finish.
| What looks good in the preview | What to ask at the consultation |
|---|---|
| A much lighter, even blonde | Is that level practical from my current color, and might it require several visits? |
| A cool brown without visible warmth | How is warmth likely to show as this color fades on my hair? |
| Bright copper from roots to ends | How would the shade behave on my natural roots and previously colored lengths? |
| A dark shade with a soft finish | Can placement or dimension keep the result from looking too solid? |
| Light pieces framing the face | What placement would create this effect without changing all the hair? |
Bring a photo that shows your current hair in daylight, too. If you have natural regrowth, let it be visible rather than covering it with a touch-up filter. A target picture and a starting picture answer different questions. Together they make it easier to discuss the gap between what you like on screen and what a first appointment could reasonably achieve.
Decide whether you like the maintenance as much as the color
Zoom out from the initial result and consider the roots several weeks later. A large difference between your natural depth and the new shade may make regrowth more obvious. Placement can change the effect: a softened root, scattered lighter pieces or color concentrated through the lengths may grow out differently from a uniform root-to-tip change. Ask the stylist to explain the options using your actual haircut and parting.
There is no single maintenance schedule that applies to every blonde, brunette or red. Growth, fading, gray coverage, technique and your tolerance for visible roots all matter. Tell the colorist how often you are willing to return and what you can spend on both the first visit and later appointments. A preview cannot show that commitment, but your shortlist should reflect it. A shade you love for two days and resent maintaining is a poor match for your routine.
Also think about how you usually wear your hair. A smooth simulator image may exaggerate shine compared with your usual waves, curls or air-dried texture. Ask for examples with a texture closer to yours, and consider the shade with your everyday styling. The goal is a result you recognize when you leave home on an ordinary morning, without recreating the polished preview each time.
Take a small, annotated shortlist to the appointment
Save your baseline and two preferred results. Add a short note to each: keep this depth, less orange than this, or I like the brighter pieces near the face. Include something you dislike if it makes the boundary clearer. A cool brown that looks too flat can be useful evidence even when it is not a contender. These notes preserve your judgment after the novelty of the edited photo wears off.
Use the consultation to agree on a direction and a realistic first step. Ask what may be achievable now, what would take longer, and how the result is likely to change between appointments. If the proposed plan differs from your favorite image, request a plain explanation of the tradeoff. A slightly deeper first result may be sensible; you should still understand why it has been suggested.
Finally, keep the simulator in its proper role. It helps you notice preferences and communicate them. It does not replace an assessment of your hair, establish a dye formula or guarantee the color a camera will record afterward. The best outcome is less guesswork: you arrive knowing which contrasts you like, which tones you would avoid, and which questions must be answered before the color service begins.