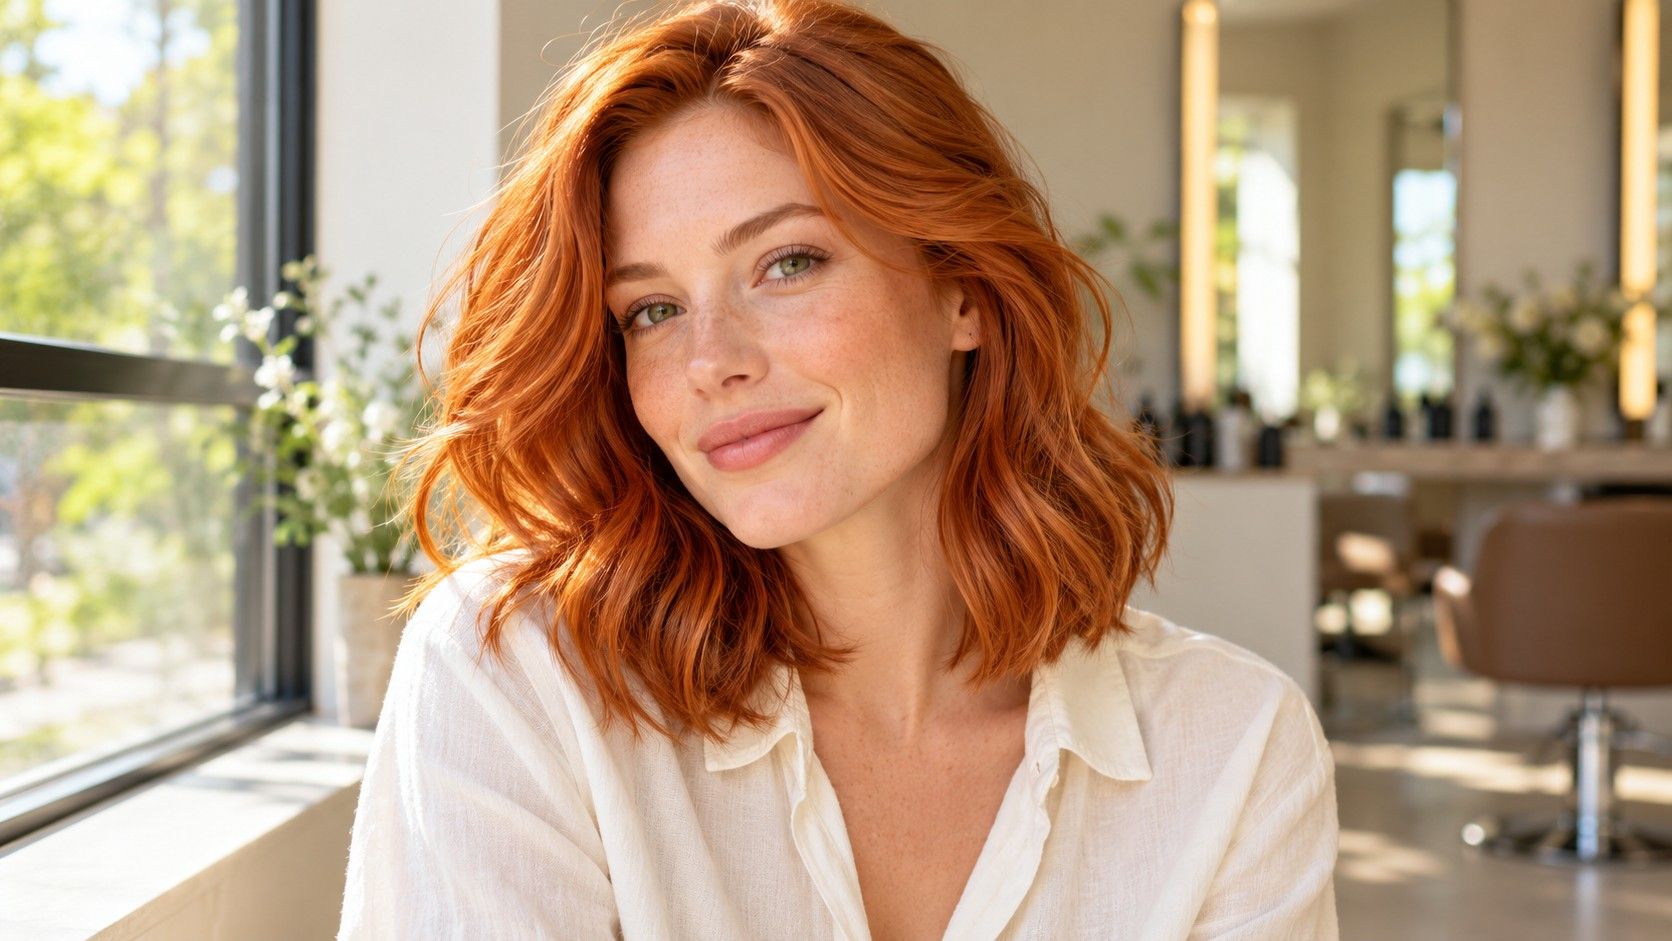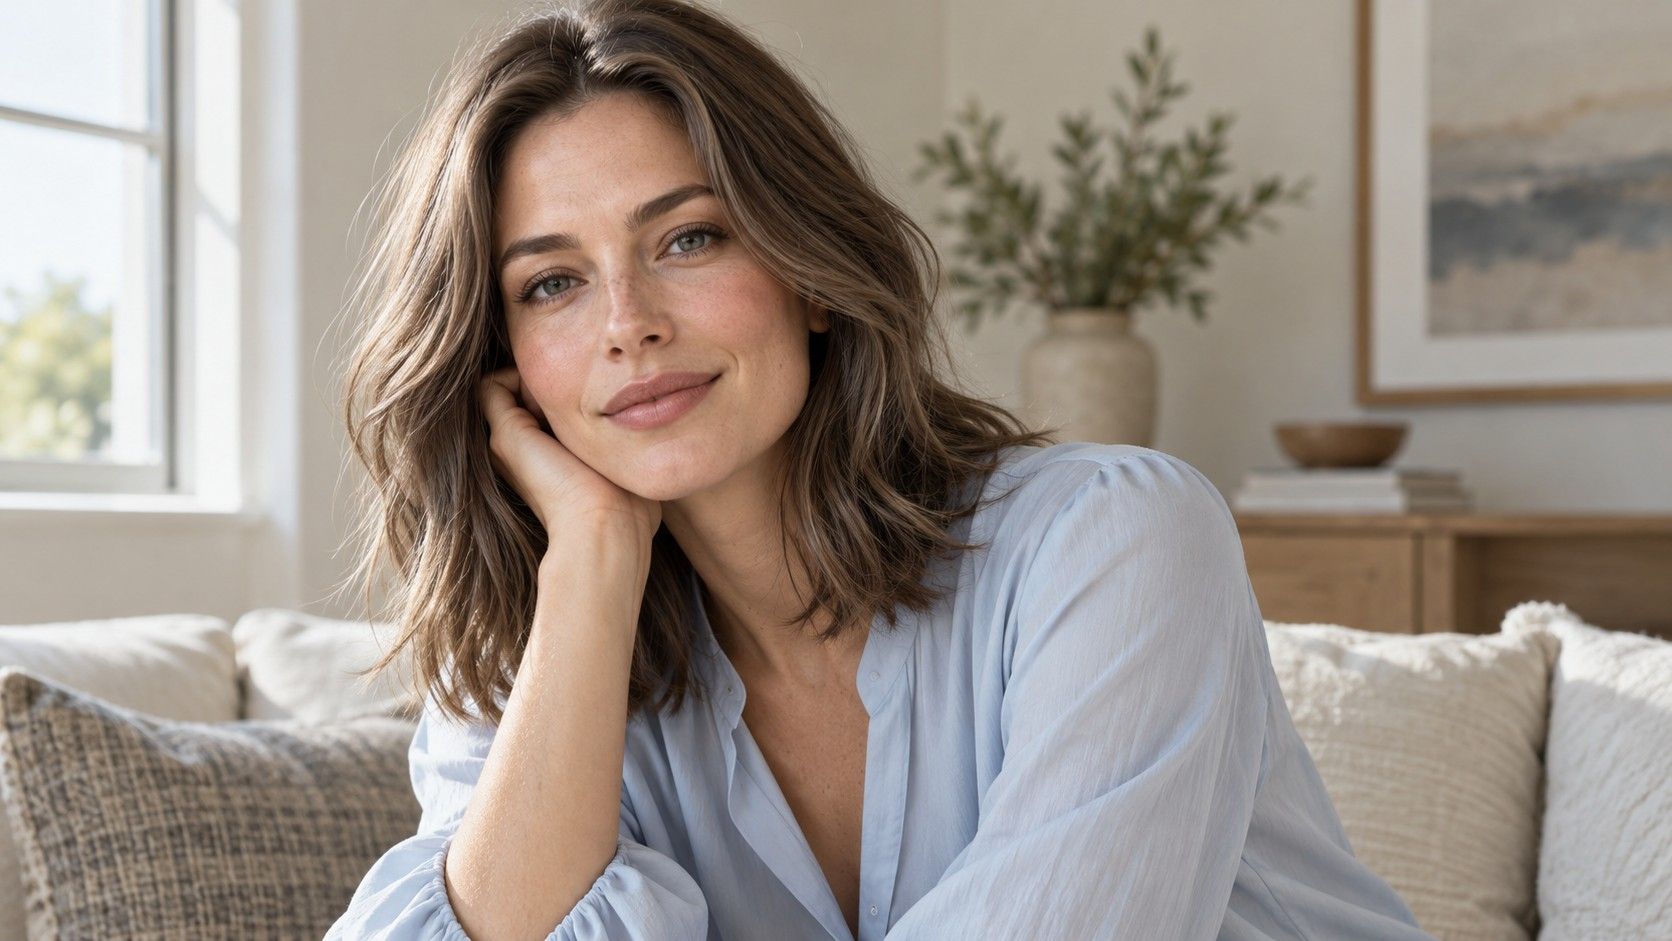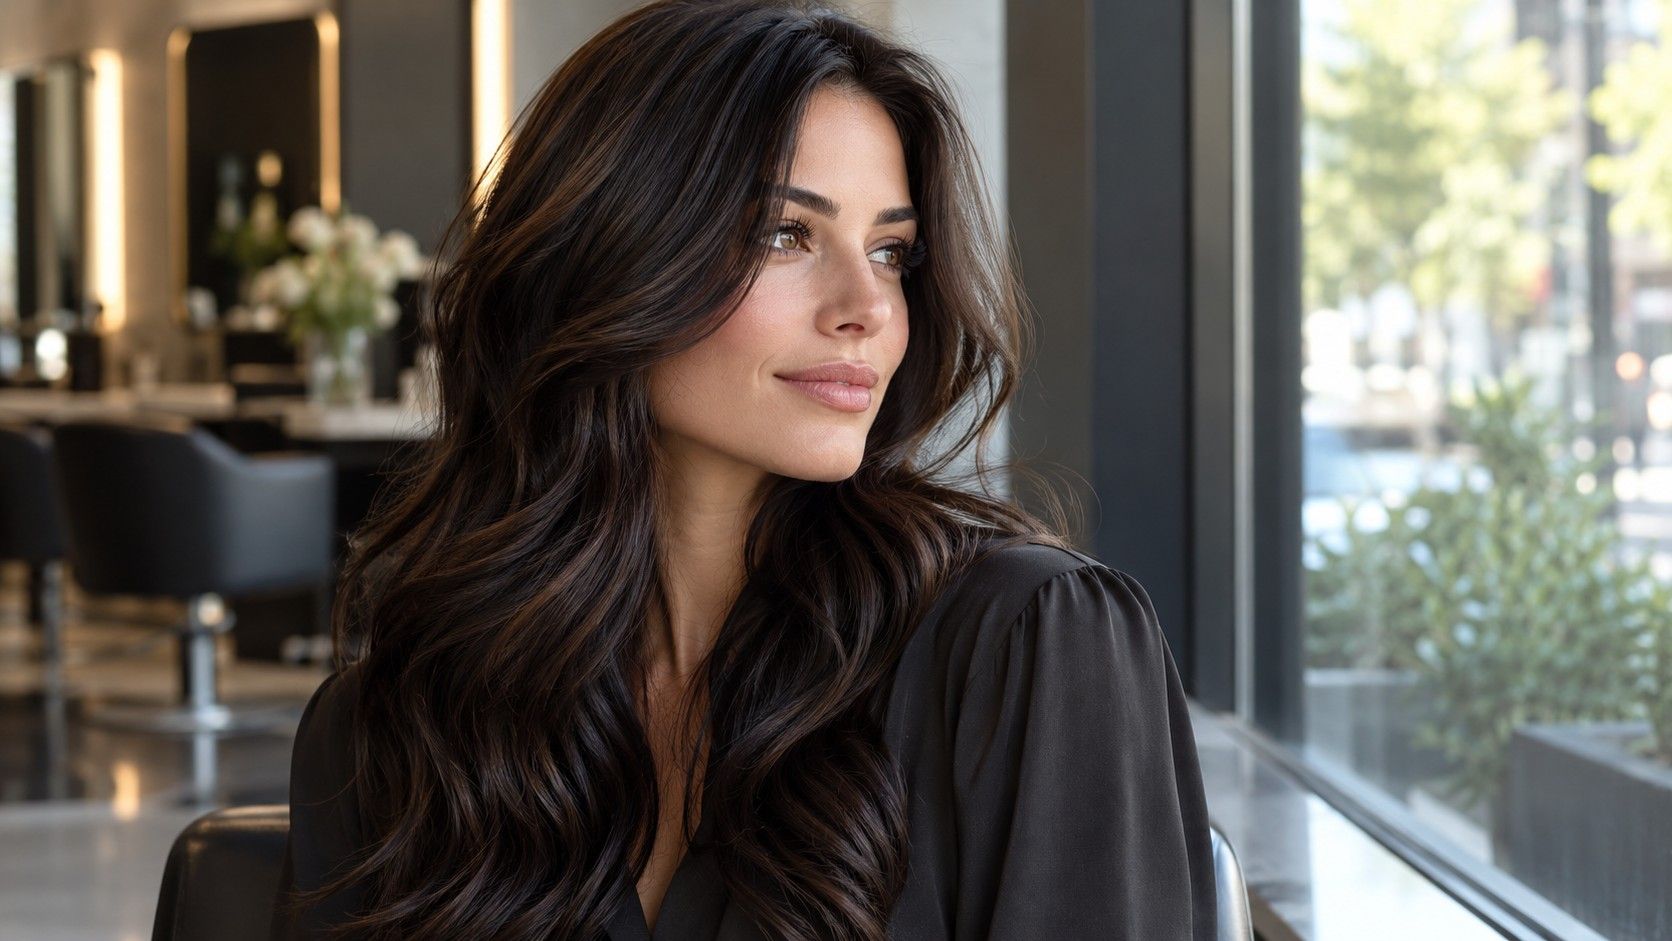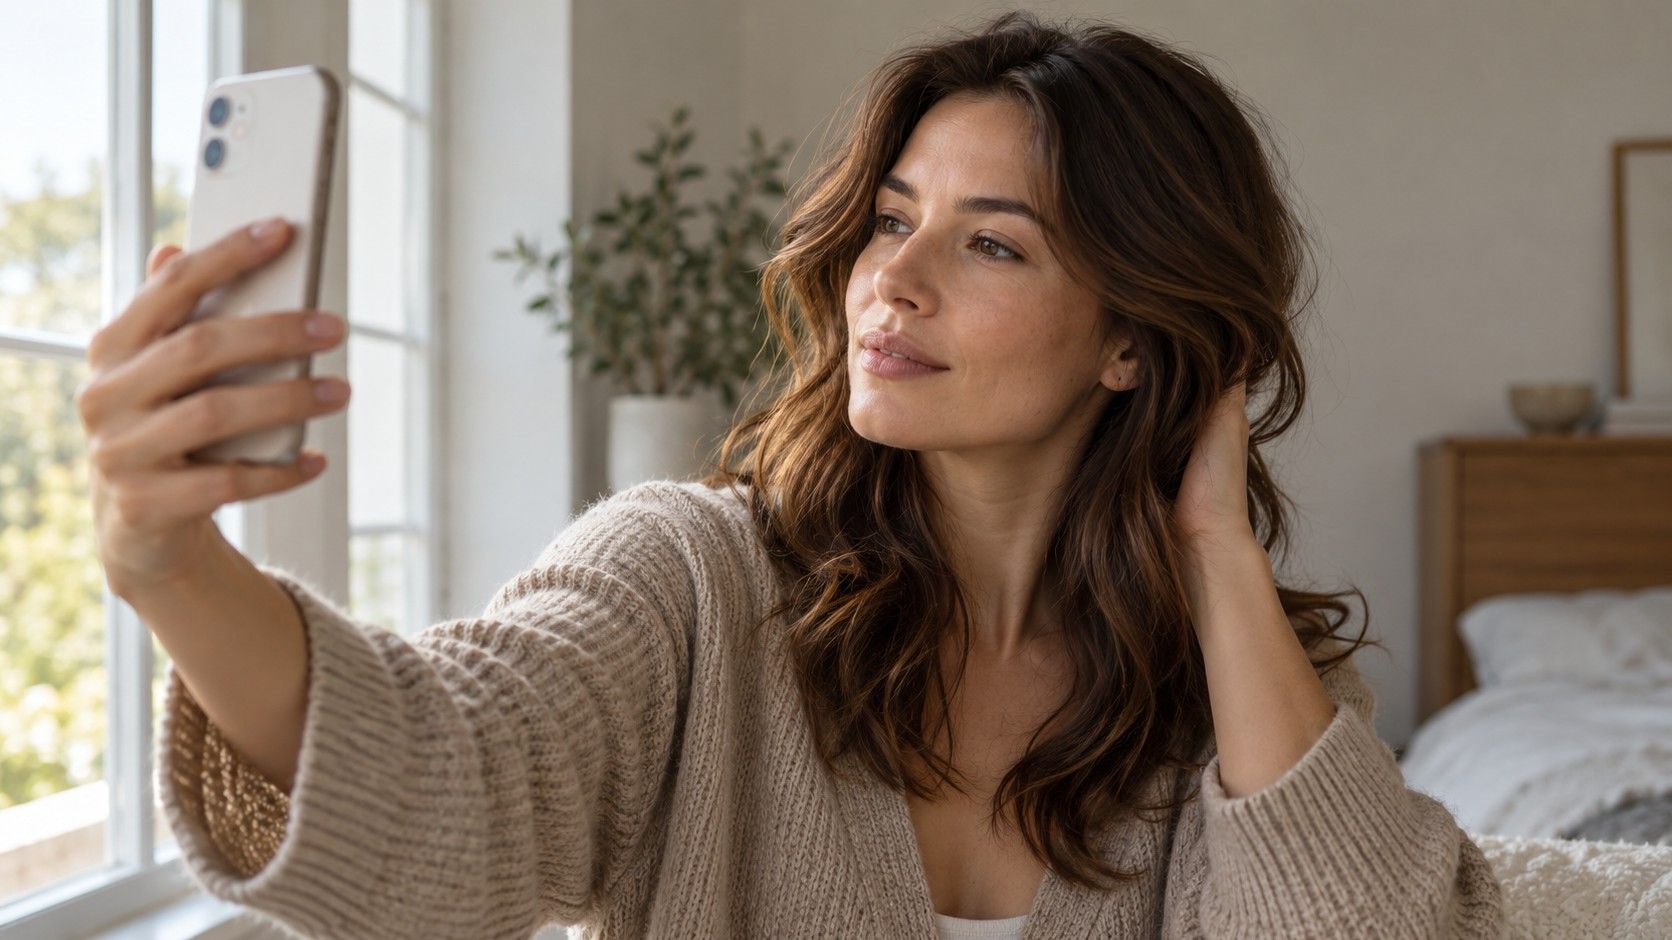
A free hair color preview can narrow a long list of ideas, provided you know what it is showing. I would use it to compare depth and contrast, then check the upload terms and the limits of the image before treating any shade as a salon plan.
Check what “free” means before choosing a photo
A free preview can be useful for rejecting a shade before you spend money at a salon. Its value depends on what you can actually inspect. Before uploading a portrait, check whether the service lets you compare more than one color, view the whole result and save anything you need. Read any limit shown beside the upload button. A free entry screen does not tell you whether the final image, extra shades or export will require payment.
I would also read the photo policy before handing over a clear picture of my face. Look for an explanation of storage, deletion and whether images are used for another purpose. If that explanation is missing or hard to understand, use a different service. Choose a photo containing only you, without a child, a visible address or other unnecessary personal detail in the background. A cropped portrait is usually a more sensible test image than a holiday group shot.
If a service asks for card details, pause and inspect the terms around that request. The word free does not establish how a trial ends. Likewise, do not assume that every tool offers live video, individual highlight placement or a realistic root effect. Check the functions in the actual interface and judge the preview it produces, rather than relying on a broad label.
Give the preview one honest starting image
Use a recent photograph with your face and the full hair outline visible. Stand near a window in soft daylight, facing the light rather than placing the window behind your head. Avoid direct sun that turns the crown into a bright patch while leaving the roots almost black. The aim is an ordinary, evenly lit portrait where both your skin and your existing hair retain detail.
Remove any beauty filter already applied by the camera or photo editor. Heavy smoothing, tinted effects and brightened eyes change the relationship between hair and face. Keep makeup close to what you normally wear, or take an additional image without strong lipstick and bronzer. If a bright red top reflects color onto your jaw, change into a quieter shade before taking the comparison photo.
Include the roots if possible. Your natural hair depth and the difference between roots and lengths are useful context, even though an overlay cannot diagnose either. Previous dye, pale highlights and darker bands may all disappear beneath a simulated color. Keep a separate unedited photo of those areas for the salon. The neat digital result should not erase the questions you need to ask about the real starting point.
Compare two shades without changing everything else
Searching for a virtual hair color try on free is only the first step; the useful work starts when you hold the comparison steady. Use the same photograph, screen brightness and viewing position for two shades. Compare a modest change with a bolder option. For example, put a softer brown beside a deeper brown before adding copper, bright blonde and black to the same shortlist.
Look at the face for several seconds rather than staring only at the new hair. Does the shade create a much harder boundary at your temples? Do your eyebrows appear disconnected from the overall depth? Is the effect still appealing when you cover the lower half of the hair and inspect the area around your eyes? These are preference checks, not tests that can prove a seasonal category or determine your undertone.
Color names vary across services. A shade called ash brown in one interface may look different in another, and a label such as caramel says little about the underlying formula. Save the actual image you prefer and record the name only as a reference. If two previews are close, describe the visible difference: less orange, slightly deeper, softer near the face. That language travels better than a product label.
Know which flaws belong to the software
Inspect the hairline, ears, parting and loose strands. A patch of skin tinted along with the hair is a masking error, not evidence that copper looks poor on you. So is a fringe left in the original shade or a dark halo around curls. If the outline is badly detected, retake the photograph against a simple background or use another tool before making a color decision.
Be particularly cautious with a dramatic dark-to-light change. A digital layer can paint pale blonde over dark hair without showing what removing pigment would involve. It cannot establish whether your previously dyed lengths will lift evenly, whether they can tolerate a process or how many appointments would be appropriate. A preview is a visual direction; the route to that direction needs a separate assessment.
The finish can also mislead. Very even shine and a perfectly uniform shade may make an ordinary color look more polished than it would on your everyday texture. Compare the shape and depth first. Ask yourself whether you still like the idea without the glossy surface. An imperfect overlay may still help you reject excessive darkness, but it is a poor reference for promising an exact salon result.
Add a maintenance question to each saved result
Before keeping a preview, write down what would make you abandon it in daily life. A large difference from your natural root color may mean a more visible regrowth line. A pale look may involve lightening that cannot be planned from a photograph. A vivid or warm effect may change as it fades. Exact upkeep depends on the technique, formula, starting hair and your tolerance for visible change.
I would turn those concerns into questions for a colorist: could a similar impression come from face-framing pieces, a softer root or a smaller shift in depth? How would this look as the roots grow? What appointments and home care would the proposed technique need? Avoid accepting a generic return date from a filter as a personal schedule. The service has not examined your scalp, hair history or condition.
Budget for the route as well as the first result. Consultation, any preliminary work, the initial appointment and future visits are different parts of the decision. Prices should come from the salon that will do the work. If you only want occasional maintenance, say so before selecting the most ambitious image. A slightly less dramatic shade can be a better choice when you would enjoy living with it for longer.
Bring a small shortlist that explains your preference
Two or three images are enough for a useful conversation. Bring the original portrait alongside the edited versions, plus a clear photo of roots and lengths if they differ. Describe what attracted you to each one: the lighter edge near the face, a cooler impression, or less contrast with your eyebrows. Include one feature you dislike. This prevents a stylist from interpreting the whole filtered image as an exact request.
Tell the colorist about previous permanent dye, bleaching and other treatments as accurately as you can. A filter cannot uncover that history. Ask which parts of your reference are realistic now and which would require a different plan. If the salon recommends a strand test or another preliminary check, let that evidence inform the decision rather than treating the saved image as a guarantee.
Keep the final choice open until those practical questions have answers. The best result of a free preview may be a clear rejection: too dark at the hairline, too bright beside the face, or more upkeep than you want. That is useful progress. You do not need a perfect digital match; you need a narrower idea that survives a conversation about your actual hair.